There are two basic stitches in knitting: the knit stitch and the purl stitch. After you master these two stitches you can make many of the basic knitted fabrics such as stockinette, moss stitch and ribbing.
What’s the difference between a knit and a purl stitch?
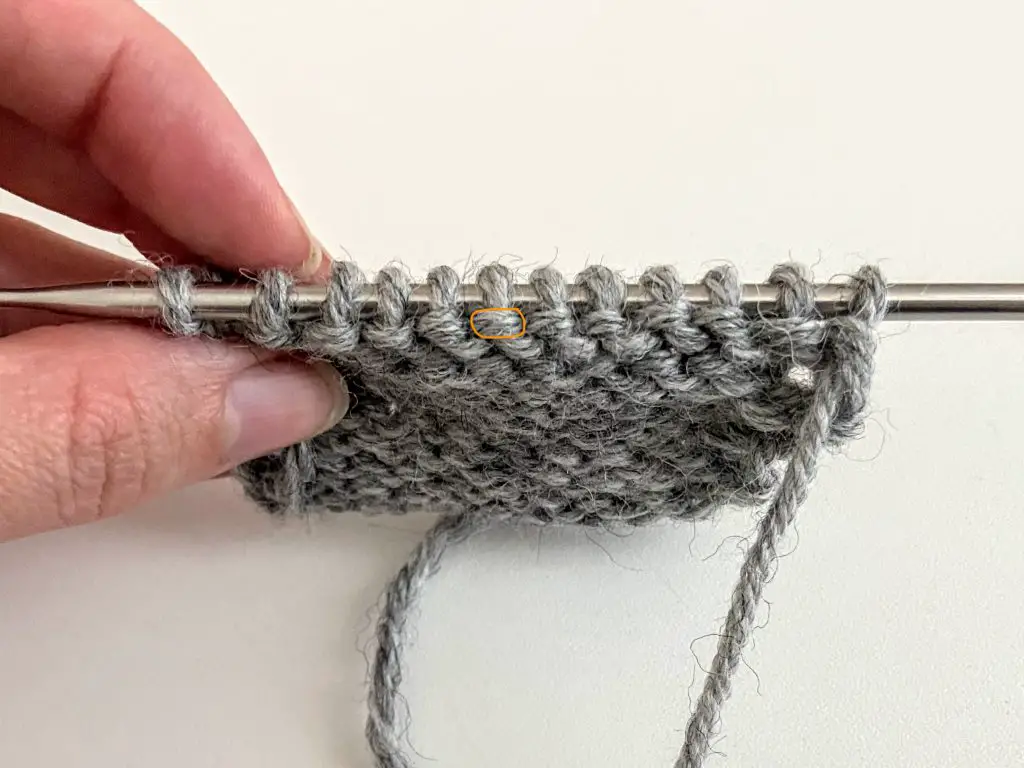
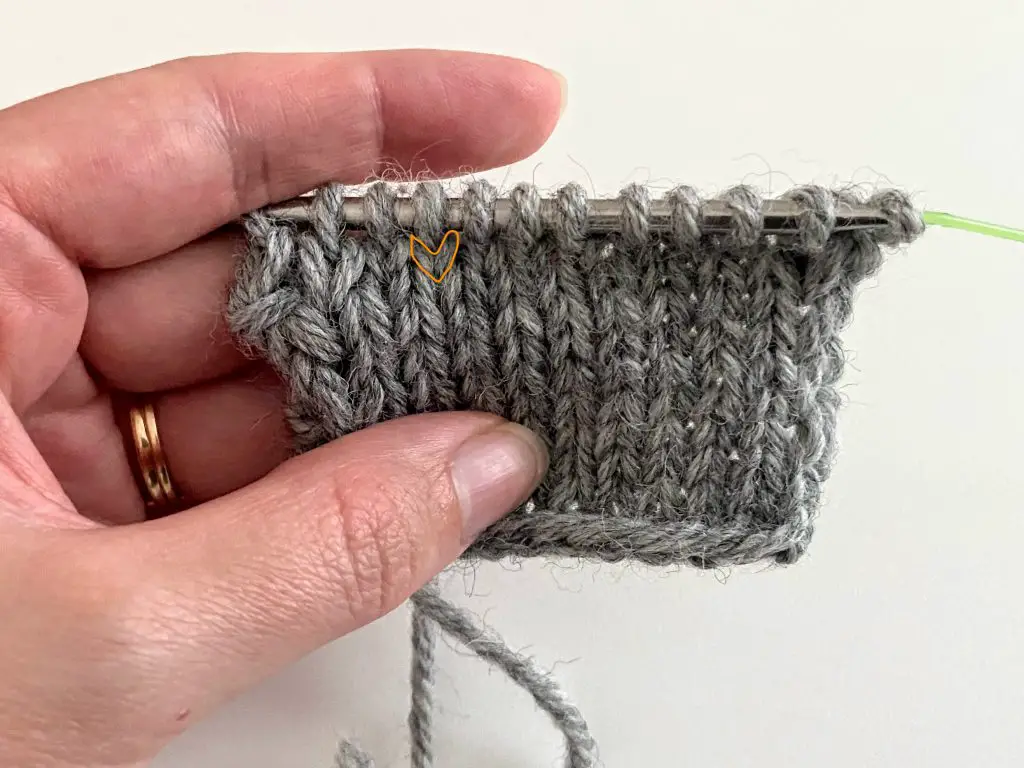
The purl stitch is actually the opposite of the knit stitch meaning that if you knit a stitch and turn your work it’s a purl stitch on the other side.
To give you a concrete example let’s take a look at the stockinette stitch that is the basic knitted fabric in most commercial clothes. The side with knit stitches is called the right side (RS) and the side with purl stitches is called the wrong side (WS). You can make stockinette by knitting all the stitches on the right side and purling all the stitches on the wrong side. If you work in the round you have always the right side of the work facing you and that’s why you can just knit all the stitches. However, if you work your piece flat (back and forth) you need to purl all the wrong side rows and knit all the right side rows.
The abbreviation for the purl stitch is p. For instance, p5 means purl 5 stitches.
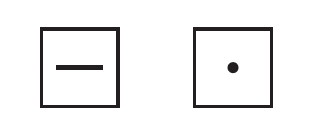
The most commonly seen knitting symbols for a purl stitch are a square with black dot or horizontal line in the middle.
The three ways to make a purl stitch are listed below. The methods differ in 2 ways:
- On which hand do you hold the working yarn.
- Do you keep the working yarn in front or at the back of the work.
As a beginner which style should I learn?
For rows where you will purl all the stitches, I recommend you to use the continental style but if your stitch pattern is a combination of knit and purl stitches I recommend you to use the Norwegian style.
Use the English style only if the two other styles feel too difficult.
1. English Style
In English knitting (also known as right-hand knitting or throwing) you hold the yarn in your right hand and the stitches you are going to work next are in your left hand. In addition, you keep the yarn in front of the work.
If you are used to make the knit stitch this way it’s probably easiest to try to learn the purl stitch the same way as well. I have to mention though that this is probably the slowest way to purl.
2. Continental Style
This is the fastest way to purl if you need to purl all the stitches in a row. In the Continental style, you hold both the yarn and the stitches you are going to work next in your left hand. In addition, you keep the yarn in front of the work.
3. Norwegian Style
This is the style I have been taught at school here in Finland. Similar to the continental style you hold both the yarn and the needle with the stitches in your left hand but the difference is that you keep the yarn at the back of the work at all times.
I find the Norwegian purl the best technique when working ribbing and knit-and-purl stitch patterns because you don’t have to move the yarn constantly backwards and forwards. In my opinion, keeping the tension is also much easier with the Nowegian style than with the other knitting styles.
If you find purling slow and awkward I highly recommend you try the Norwegian purl before you decide to dislike purling.