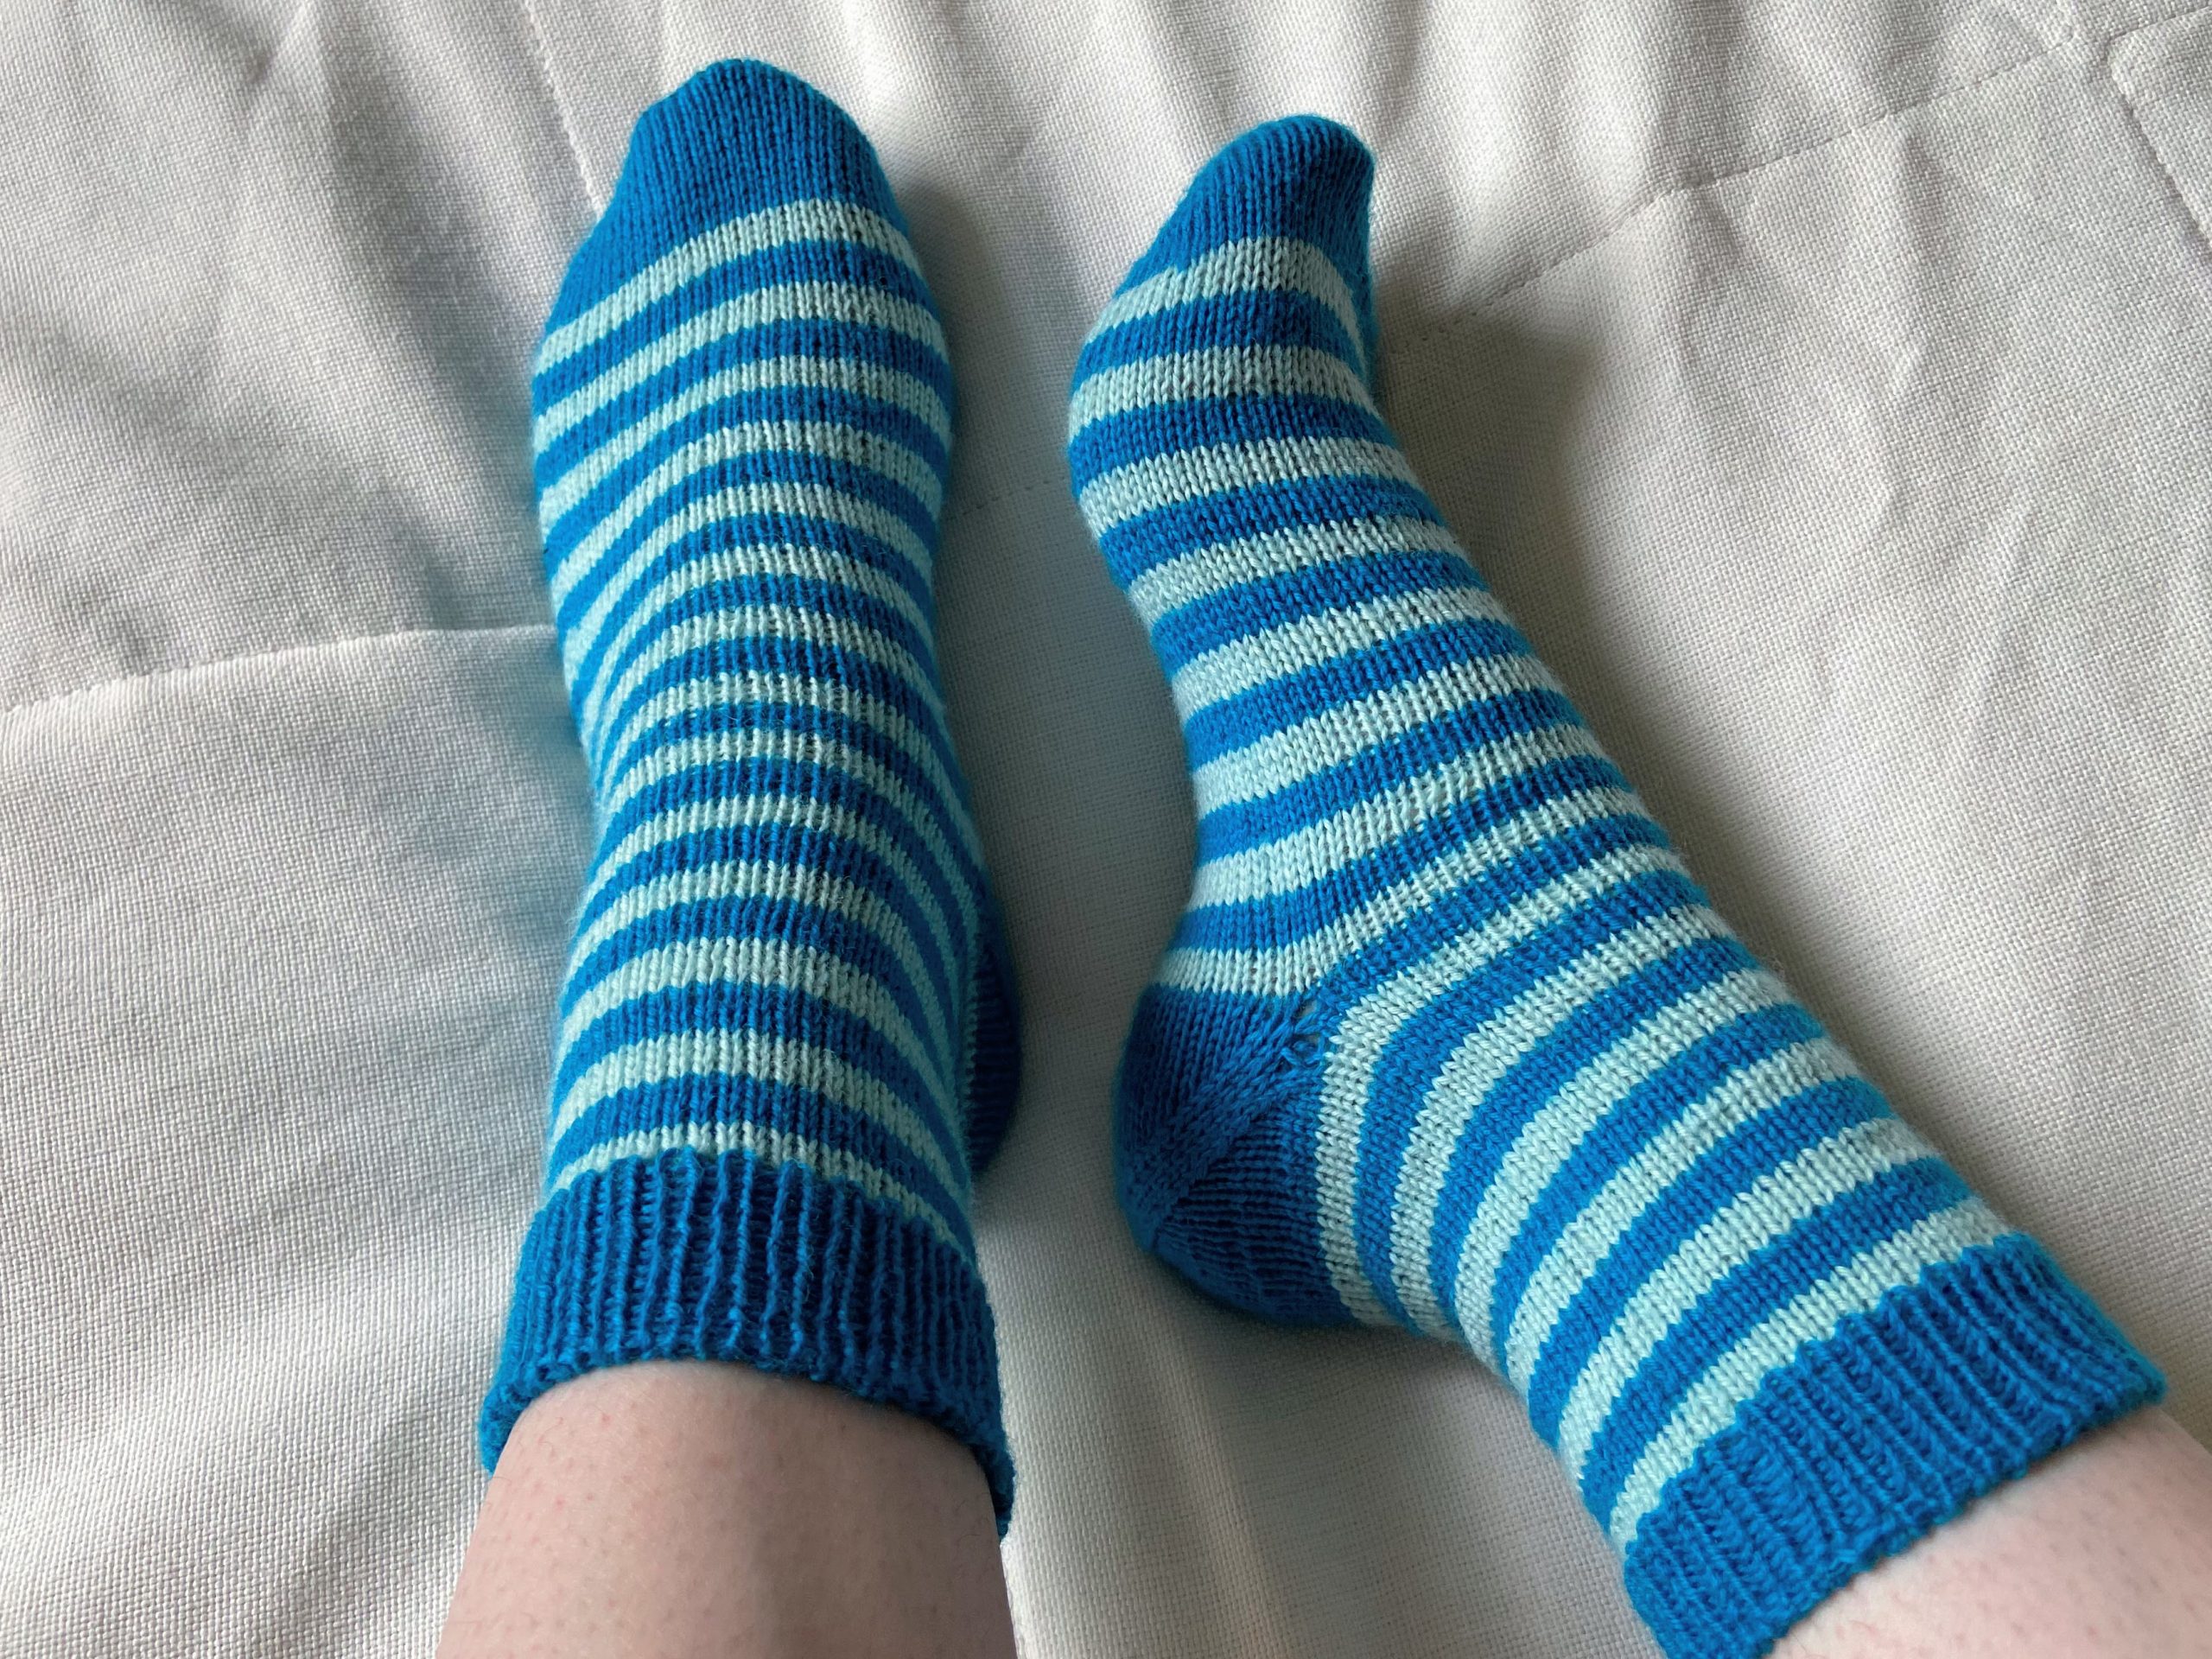


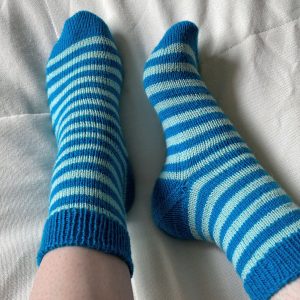
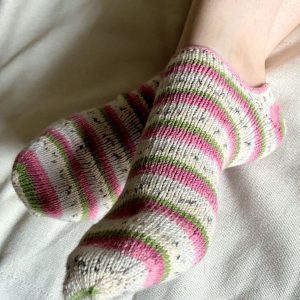
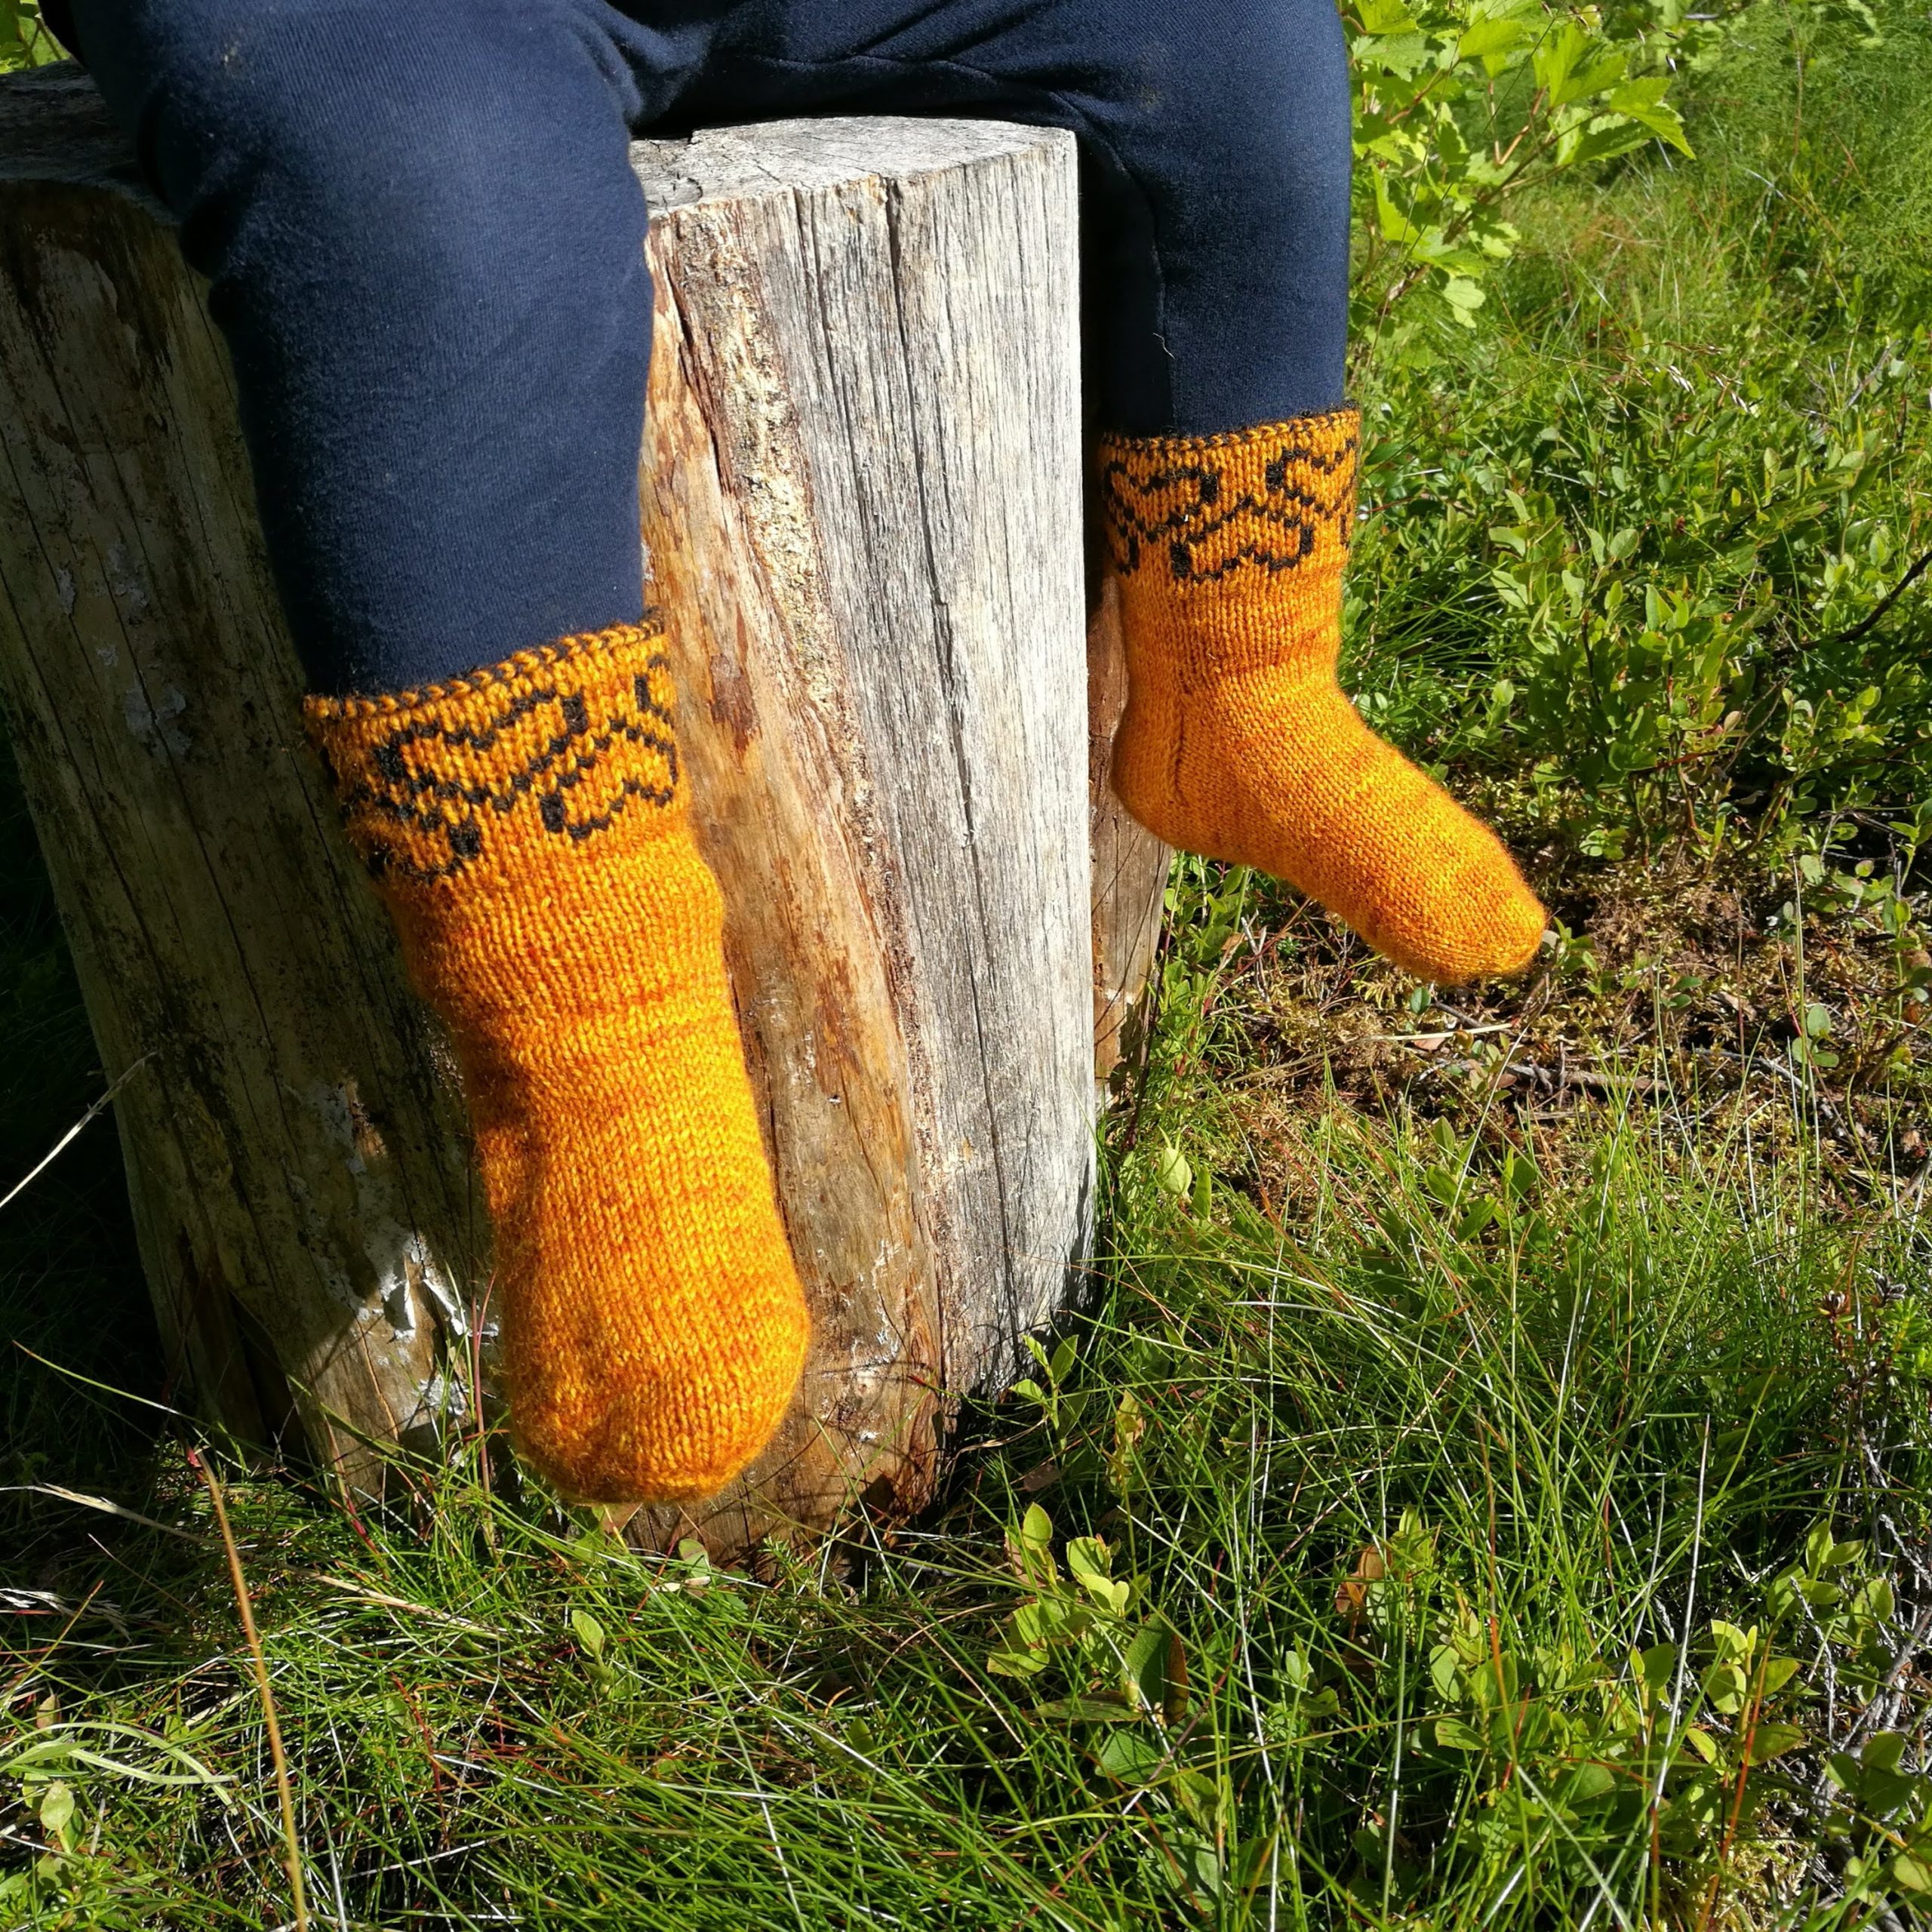
The socks in the images have contrasting color heel and toe and they are striped but you can also knit them with one color only which makes the pattern even easier.
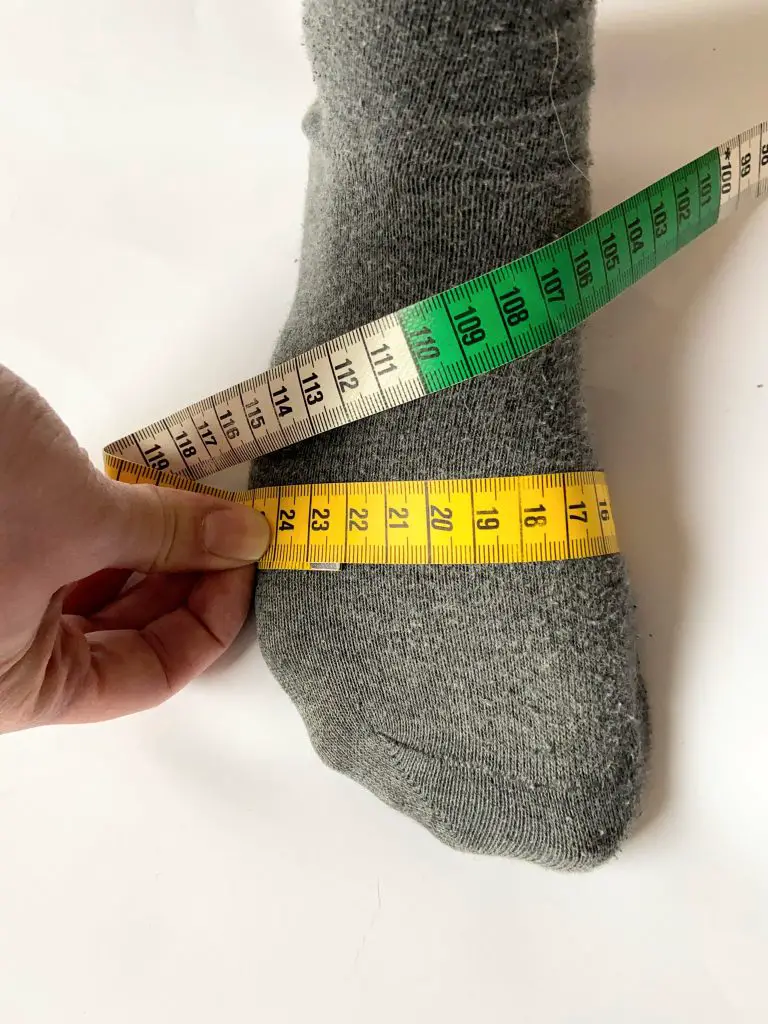
Measure your foot circumference: Take the measurement around the ball of your foot, which typically is the largest circumference. Do not include a bunion in this measurement. You should be standing when you measure your foot.
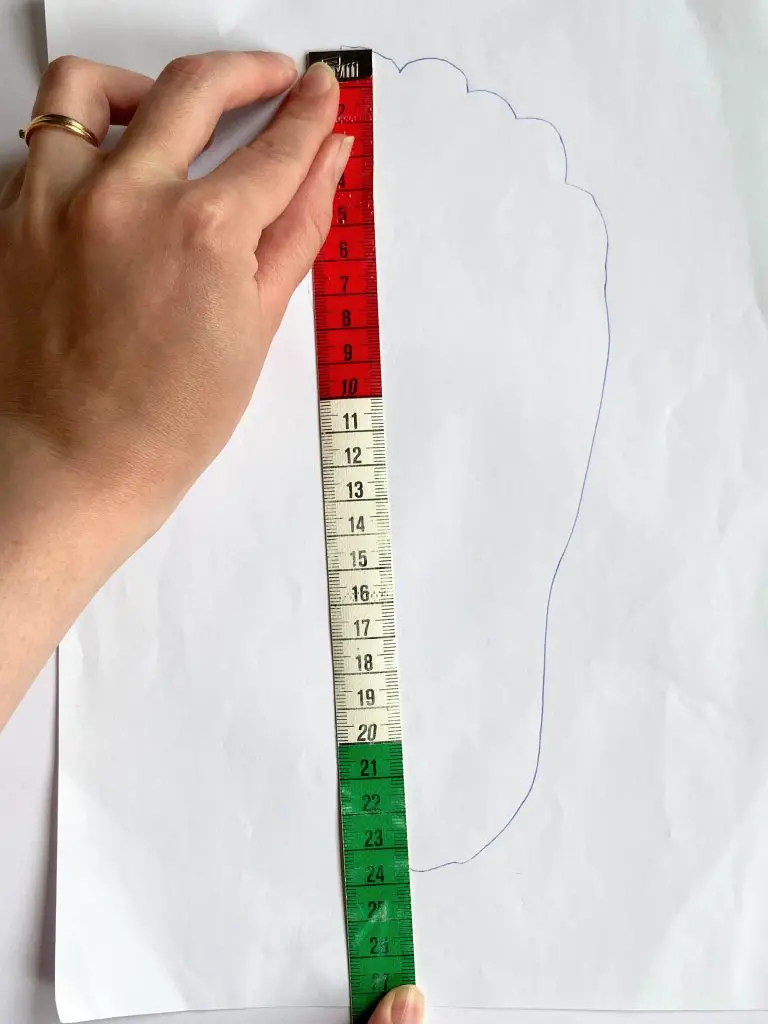
Measure your foot length: The easiest way to do this is to place a piece of paper on the ground and then trace around your foot. Make sure that you’re having your full weight on the foot while tracing. If your foot does not fit into one paper, tape two pieces together. Then take your drawing and measure the outline from the back/central part of the heel to the end of the longest toe.
If you are not able to measure the circumference or the length of the foot (for instance because you are going to gift the socks) you can use the foot size chart for sock knitting to determine the foot length and average circumference based on shoe size.
Now that you know the measurements of the foot the sock is going to be knitted for you can calculate the dimensions of your sock.
For instance:
The knitting abbreviations used in this pattern you can find here.
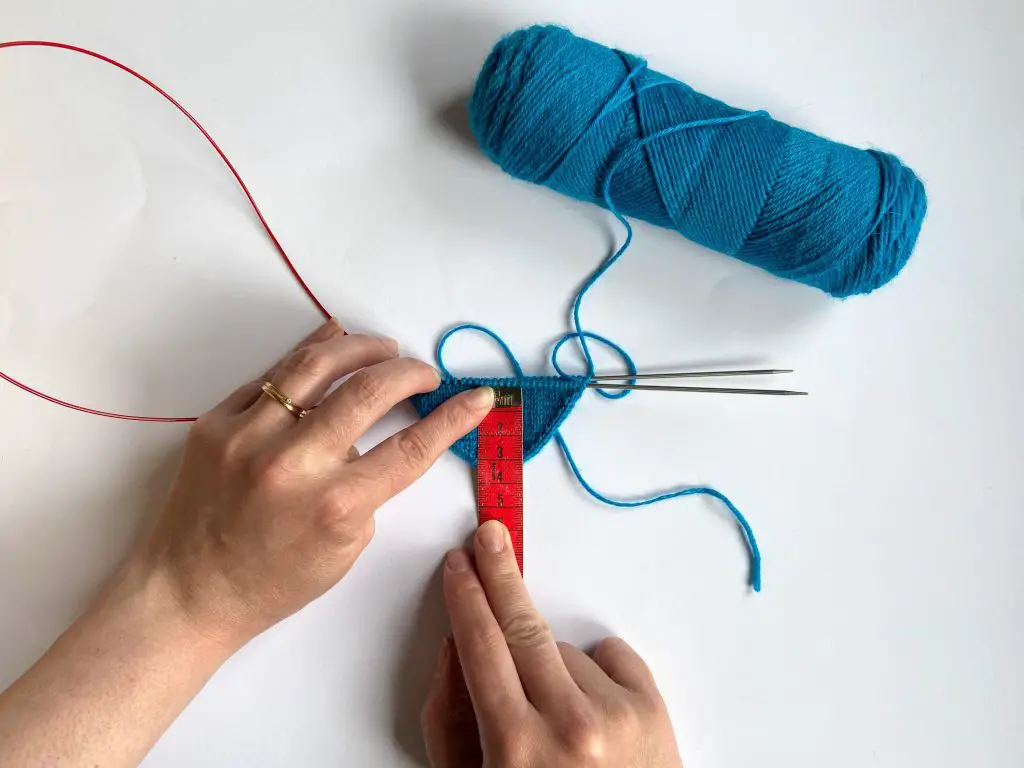
With Turkish cast-on method CO 16 sts (8 sts / needle).
Knit one round.
You can place a marker at the beginning of the round.

Repeat increases every round 3 more times. You should now have a total of 32 sts.
Now keep on increasing every other round (knit plain stockinette rounds between the increase rounds) until you reach desired sock circumference.
Typically fingering weight women’s sock has 56-68 stitches and men’s sock 64-76 stitches.
Measure the length of your toe and write it down. This measurement is used for calculating the heel placement.
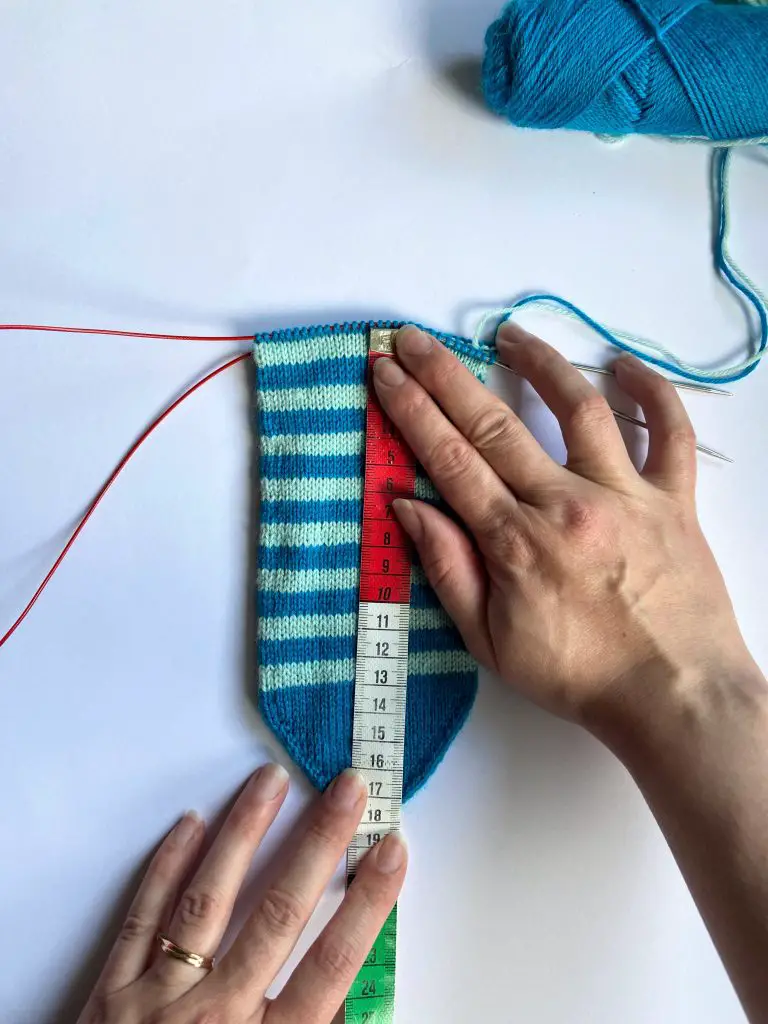
Knit in the round until your work measures
Desired lenght of socks foot - the length of your toe after increases
I recommend making the sock 10% shorter than the foot you are knitting it for.
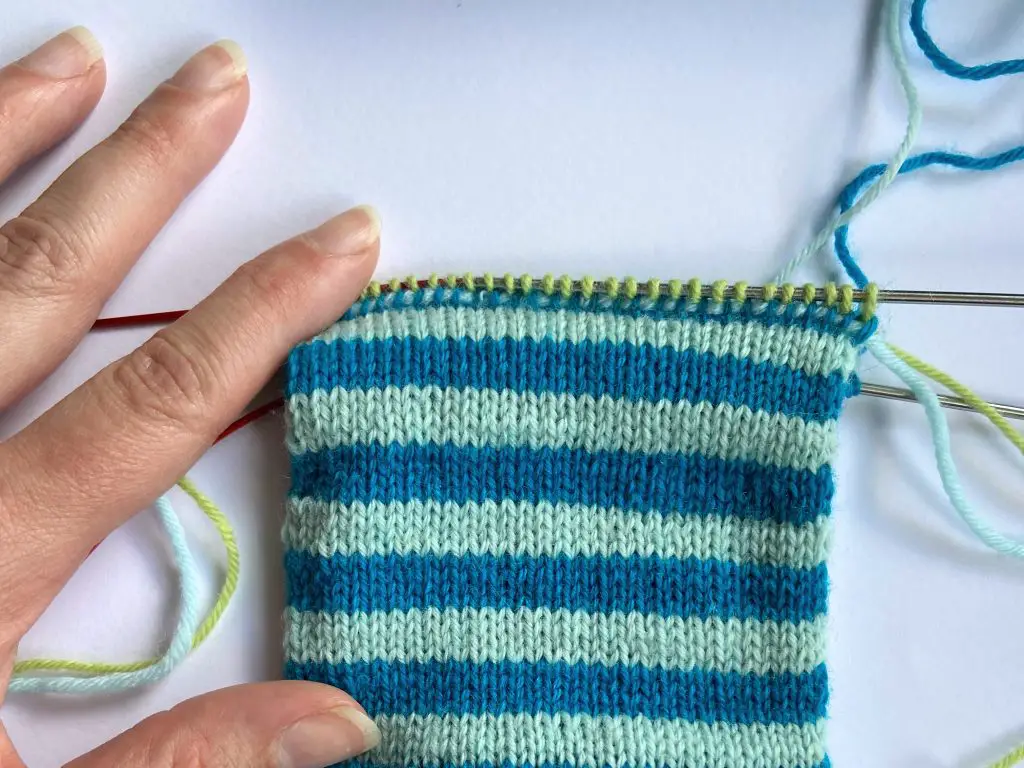
In the sample socks, each stripe is 4 rows but you can knit your socks with one color if you like.
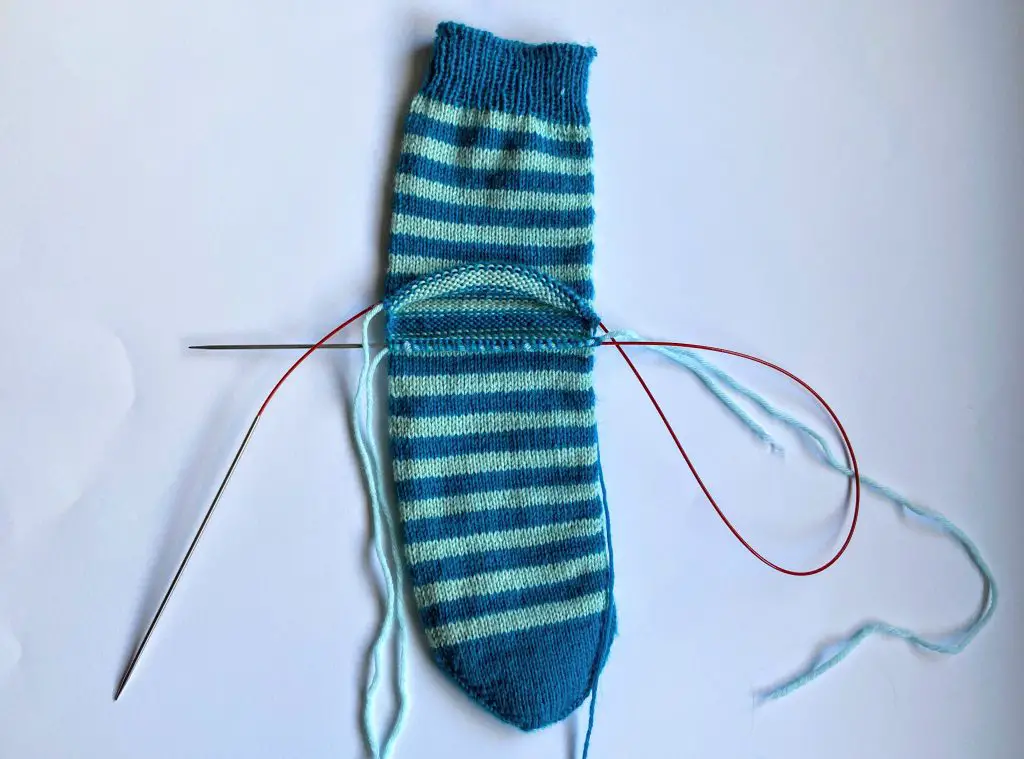
Needle 1: Using a tapestry needle, insert a strand of yarn into the stitches on Needle 1. This strand of yarn is called a lifeline and it allows you to later unravel the heel opening safely.
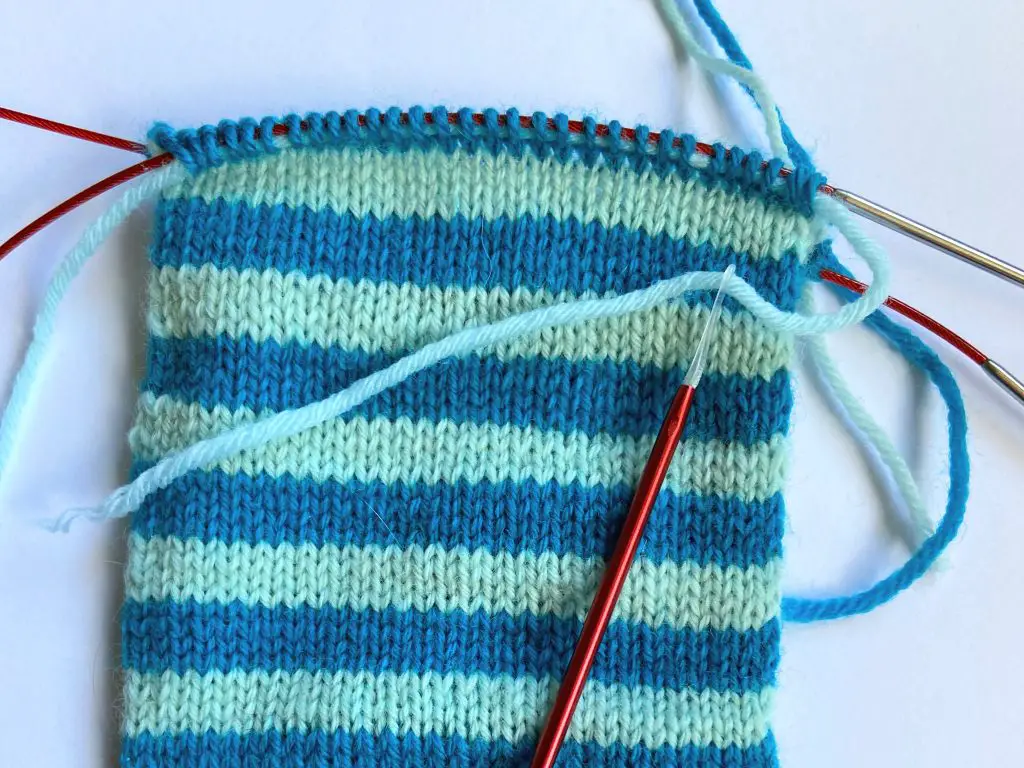
Needle 1: Using a tapestry needle, insert a strand of yarn into the stitches on Needle 1.
You have now two lifelines for the heel opening in your work.

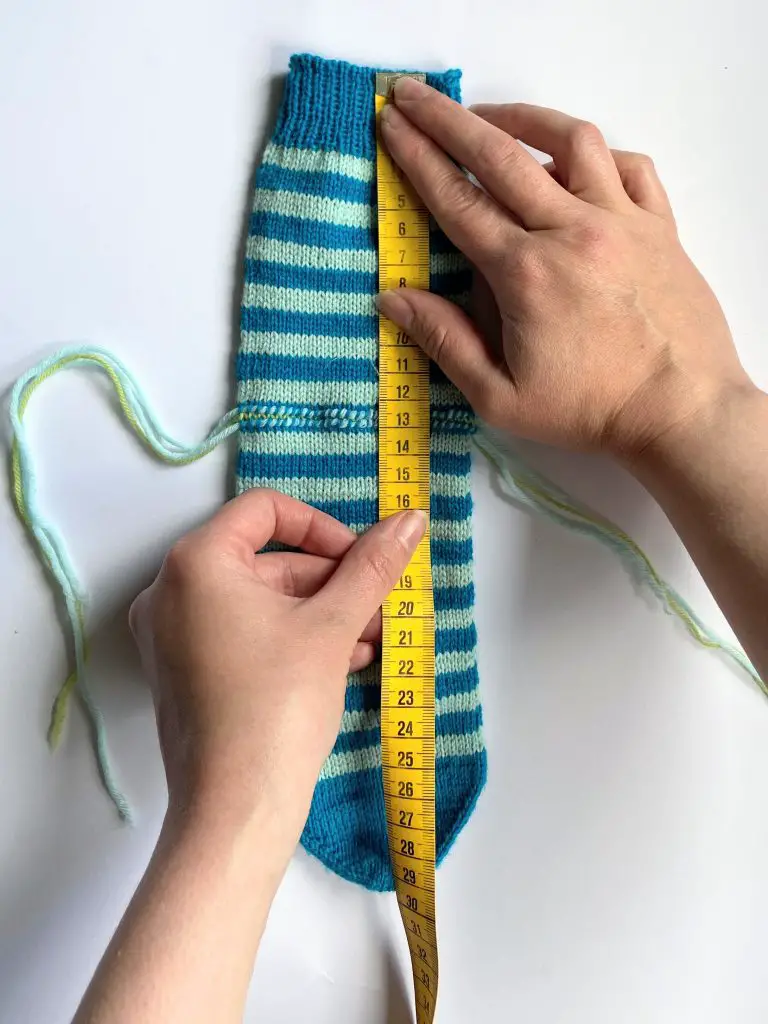
Work until your leg measures 1″ (3cm) less than desired length.
Typical leg measurements below:
Work 1″ (3cm) of 1-by-1 ribbing (knit 1, purl 1) and bind off using some stretchy bind-off method.
The easiest one is the elastic bind-off method as follows:
Work the first two stitches in pattern, then knit those stitches together through the back loop, work the next stitch in pattern and knit the worked stitches together through the back loop.
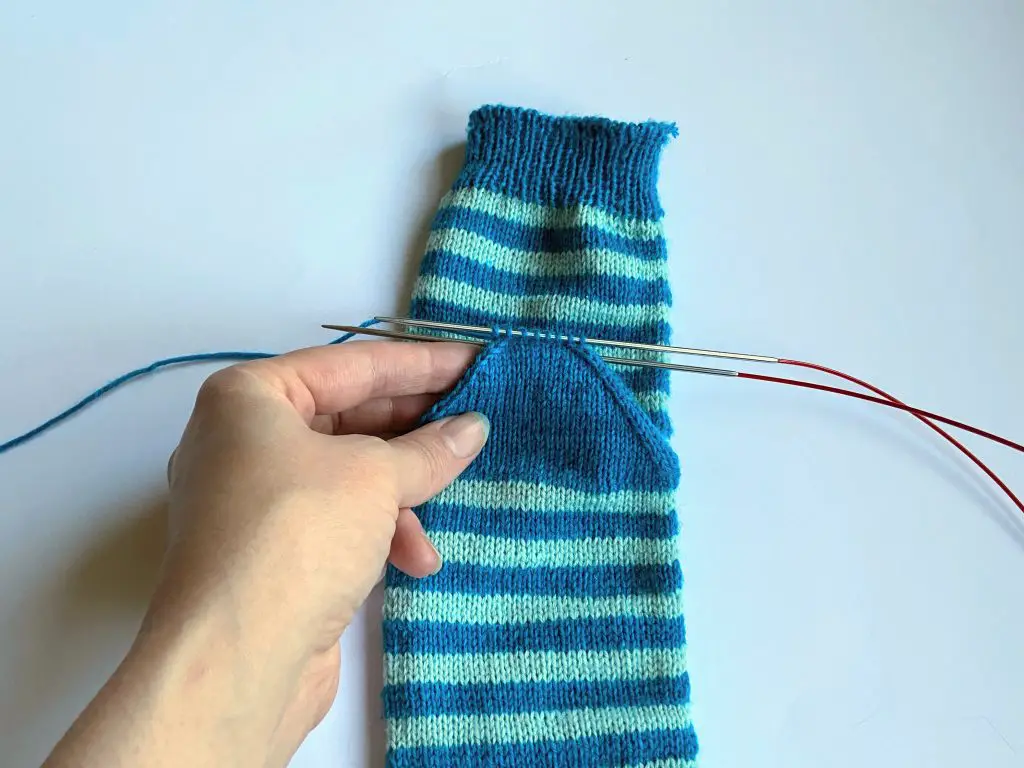
Remove the waste yarn, placing the live stitches onto two needles. You should now have the same amount of stitches as you had with the body of the sock divided evenly into two needles. You can now remove the lifelines.
See this very helpful video tutorial of how to pick up stitches for an afterthought heel without any gaps or holes.
Knit one round.
Repeat decreases every other round until you have a total of 32 sts (16 sts per needle) remaining. Now decrease every round until you have a total of 16 sts (8 sts per needle) remaining.
Break the yarn leaving approximately 12″ (30cm) tail. Close the heel using the Kitchener stitch. If the Kitchener stitch is not familiar technique please see this tutorial.


Reviews
There are no reviews yet.