Tubular bind-off is the perfect method for binding-off 1-by-1 or 2-by-2 ribbing. It produces a very stretchy and beautiful cast-off edge and it’s a very good option for socks and sweater hems for instance.
This is a sewn bind-off so you need a tapestry needle for this method.
The technique is suitable for intermediate knitters.
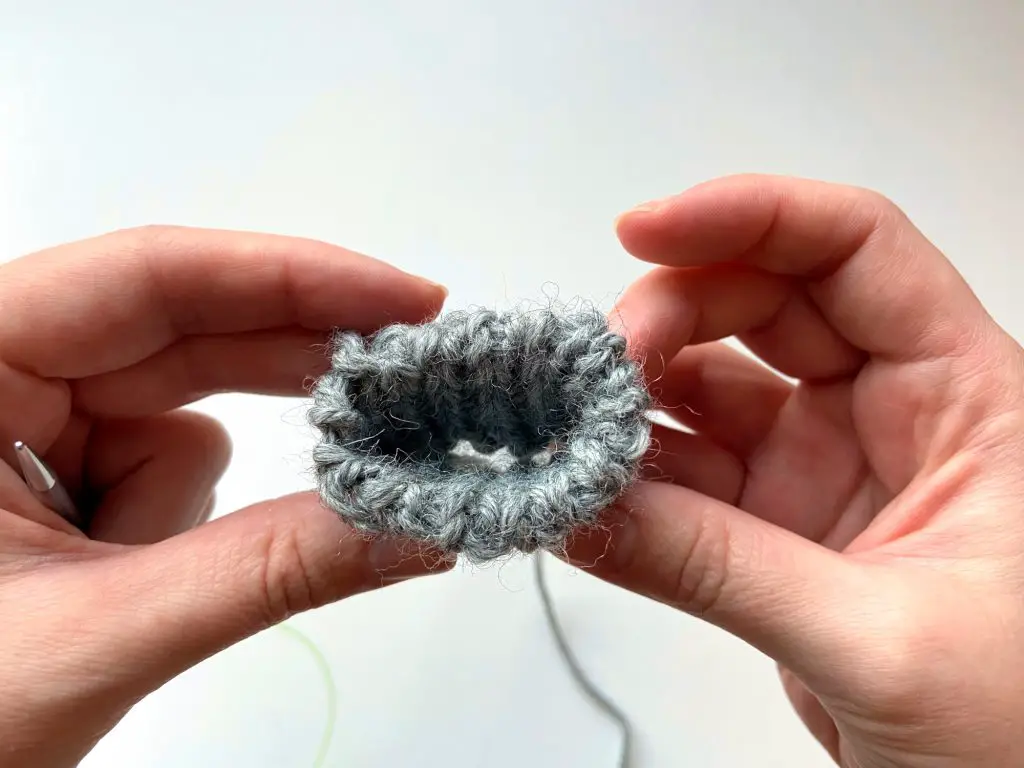
Tubular Bind-Off In the Round
The two setup rounds are optional and without them the method is called the Italian bind-off and the end result will be a bit flatter.
Be careful not to make too short floats when slipping the stitches because otherwise, the edge won’t be very stretchy.
- Round 1: knit all the knit stitches and slip the purl stitches purlwise with yarn in front
- Round 2: slip the knit stitches purlwise with yarn in the back, purl the purl stitches
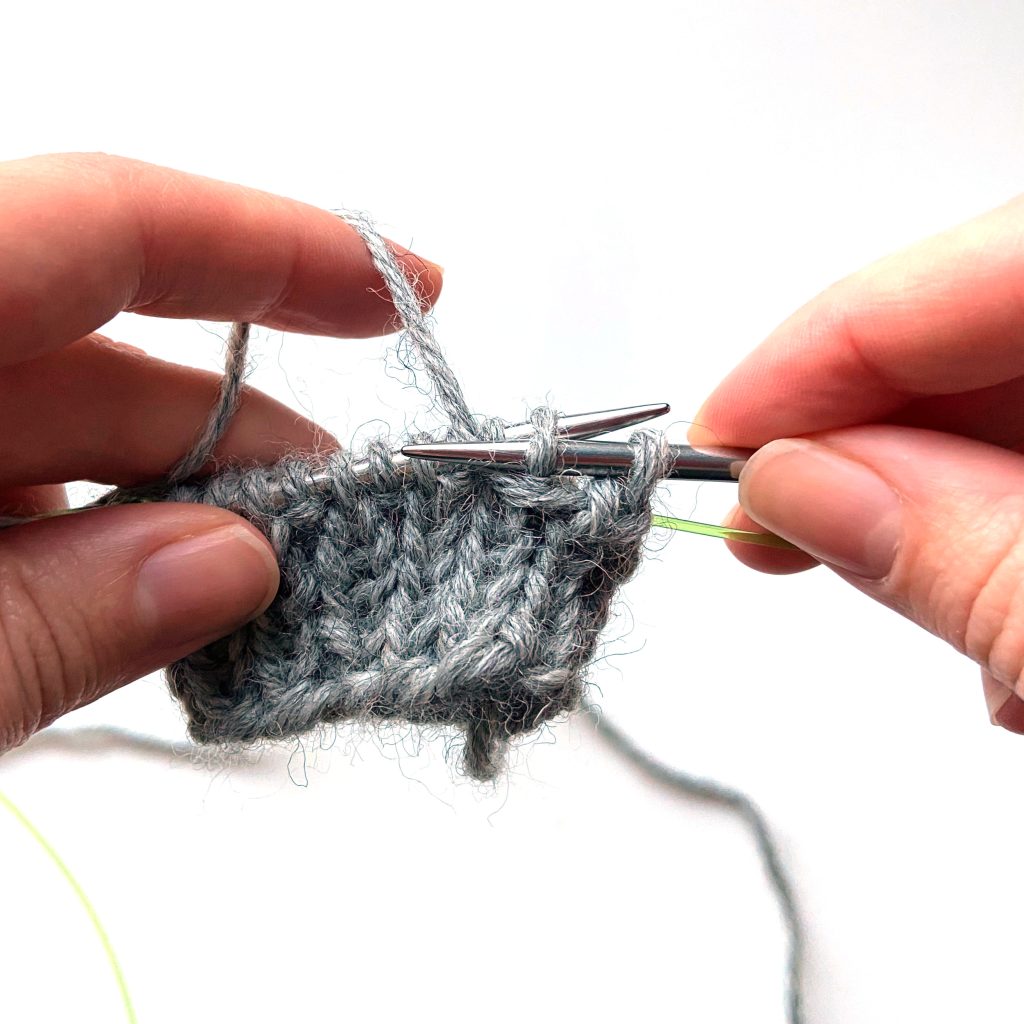
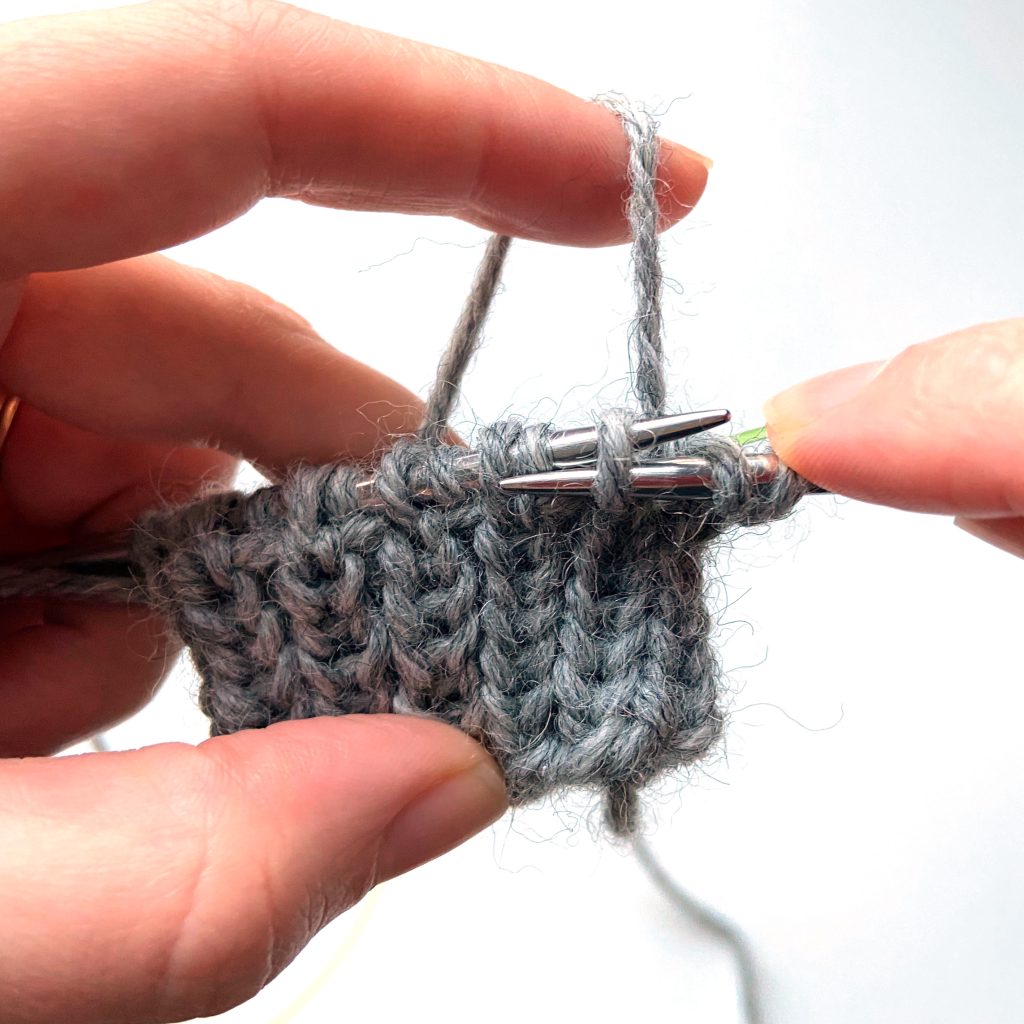
Break the yarn leaving a tail that is 3 to 4 times the length of the bind-off edge.
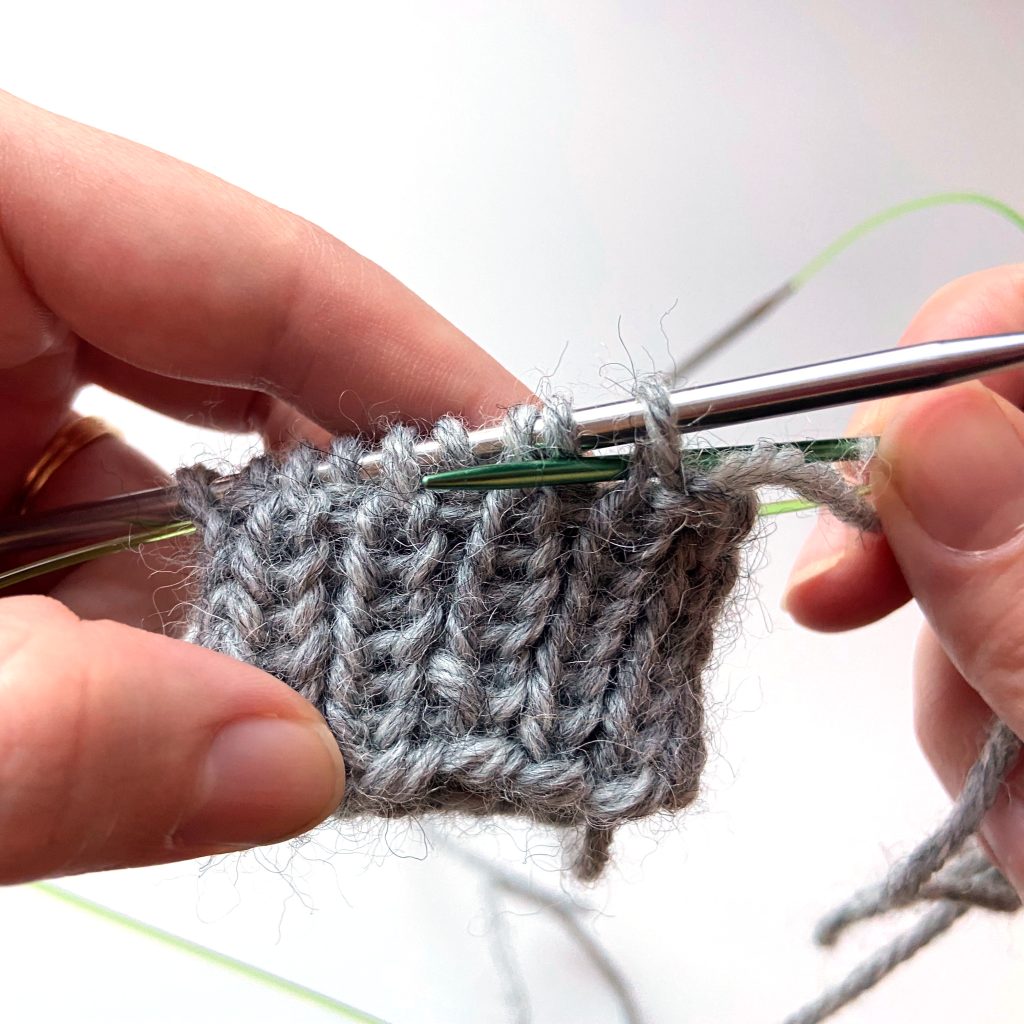
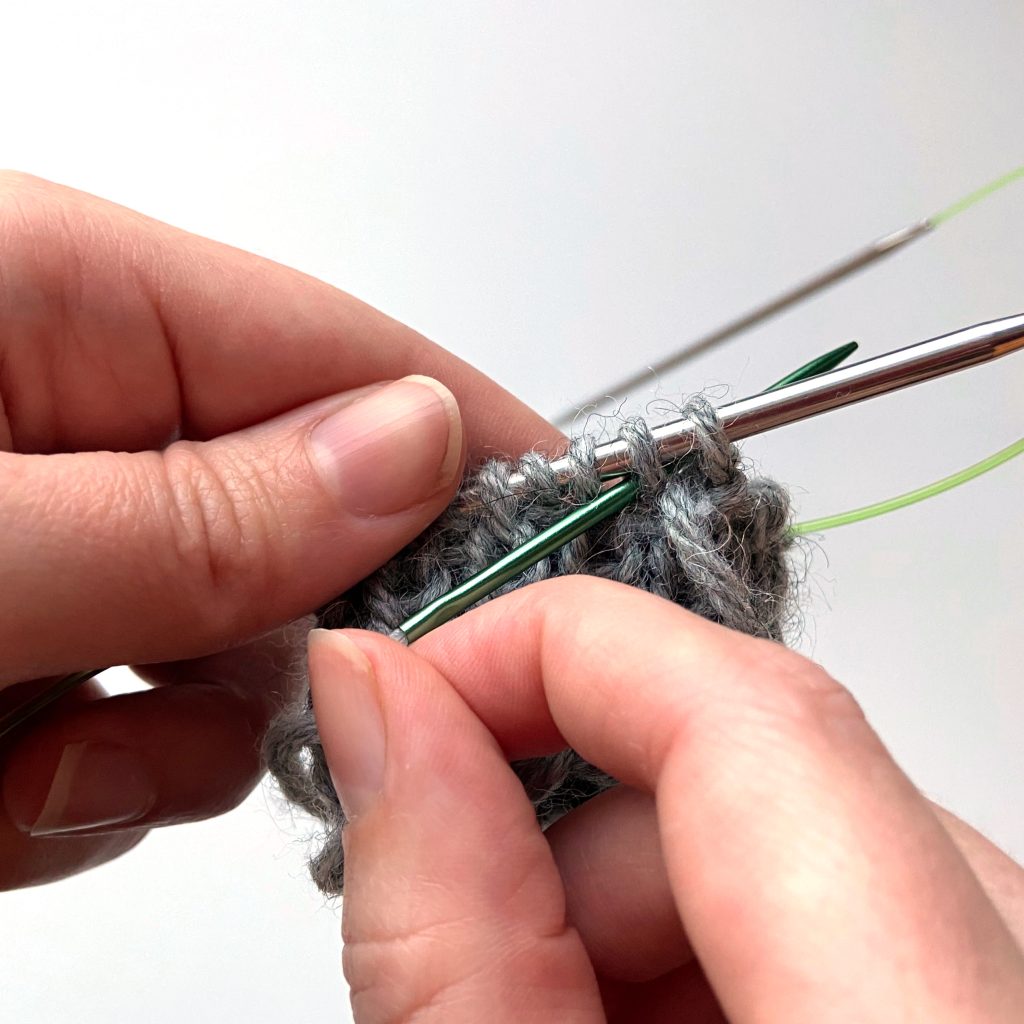
In the next phase, stitches are worked in pairs. Two knit stitches are a pair and two purl stitches are a pair. When you work with the purl stitches the yarn is in the back of the work and if you work with the knit stitches the yarn is in front of the work. You work one pair at a time with the following steps.
- The first stitch of the pair always sets the direction. If it’s a knit stitch you go through it knitwise and if it’s a purl stitch you go through it purlwise.
- Drop the first stitch of the pair. However, the very first knit stitch and purl stitch you move to the right-hand needle instead of dropping them.
- Go through the second stitch of the pair in the opposite direction meaning that if it was a knit stitch go through the second knit stitch purlwise. Note that you skip the purl stitch that is between the knit stitches. Similarly, if the first stitch is a purl stitch you go through the second purl stitch knitwise. Once again the knit stitch between the purl stitches is ignored at this stage.
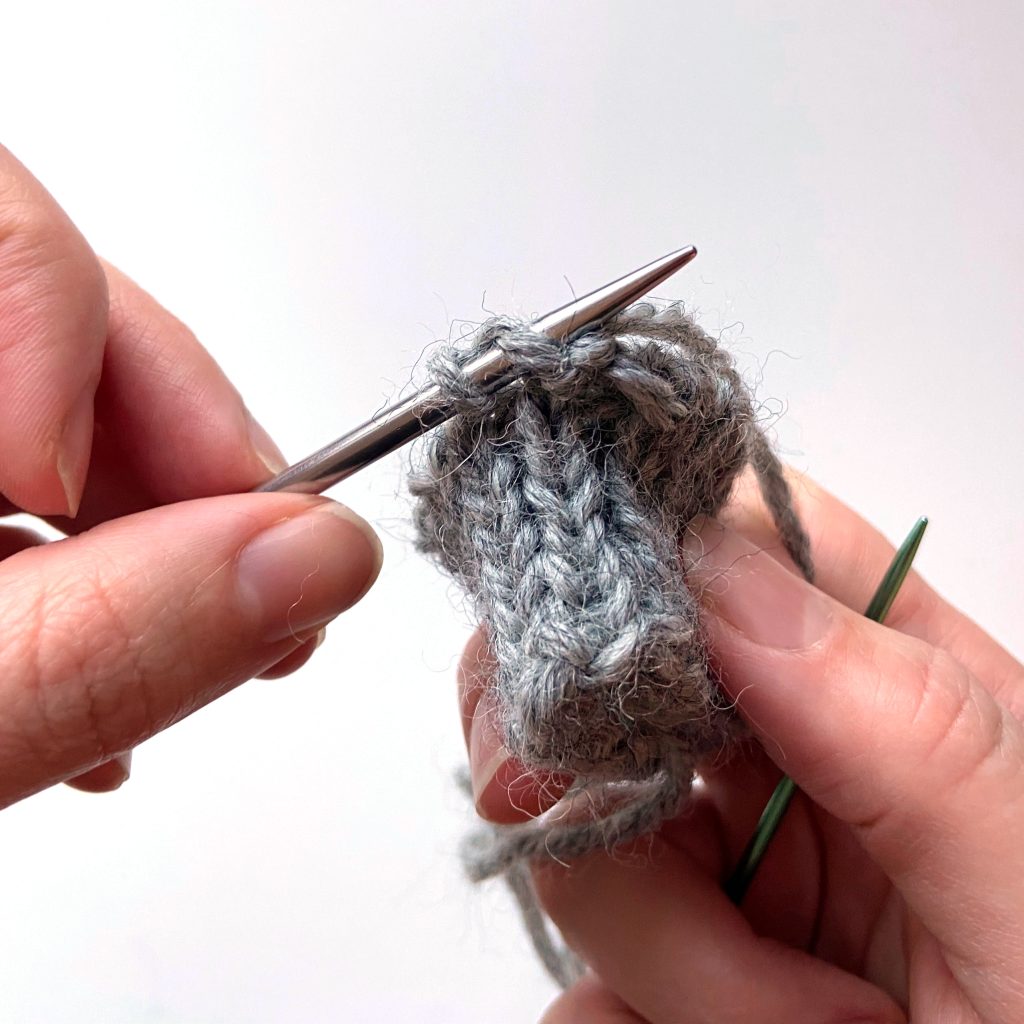
Keep on repeating the steps until there are only the two stitches you moved at the beginning remaining on the needle and drop them.
Weave in end and you’re finished!
Step by Step Photo Tutorial
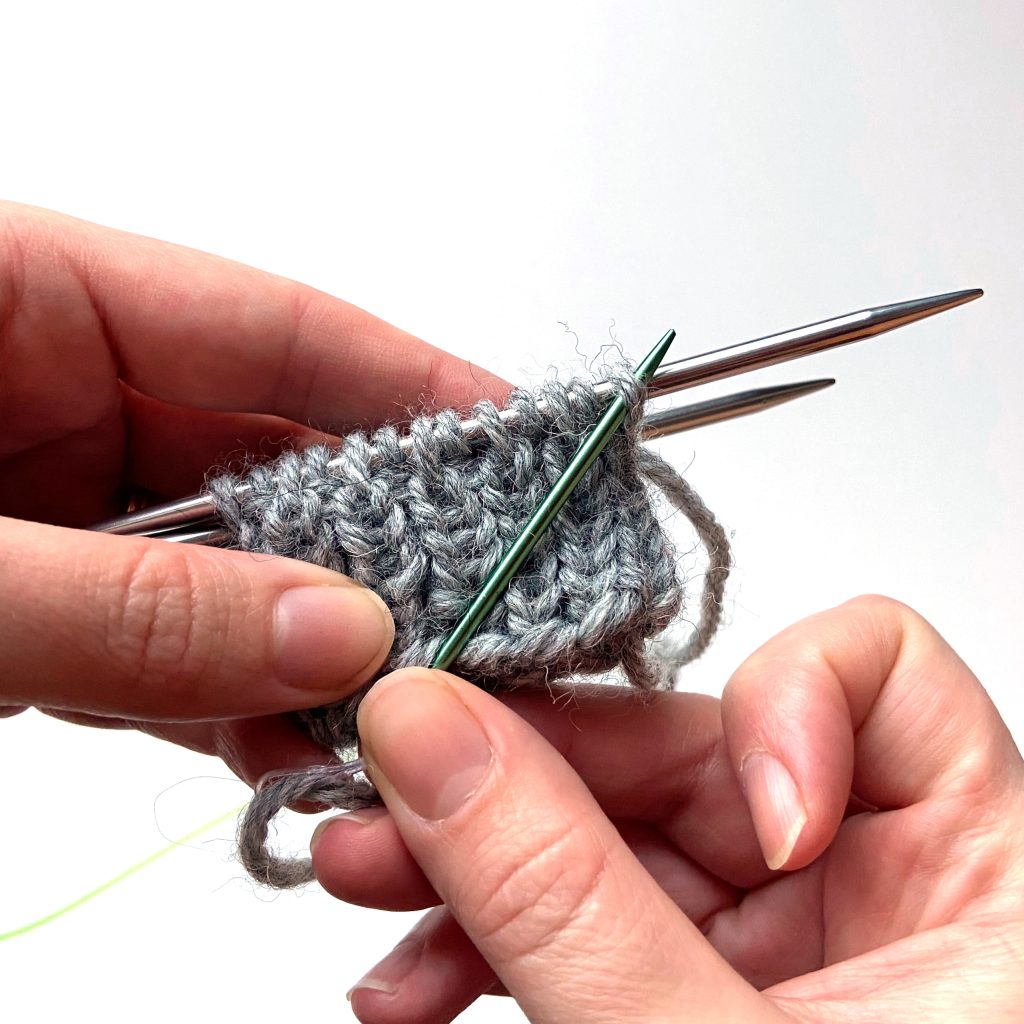
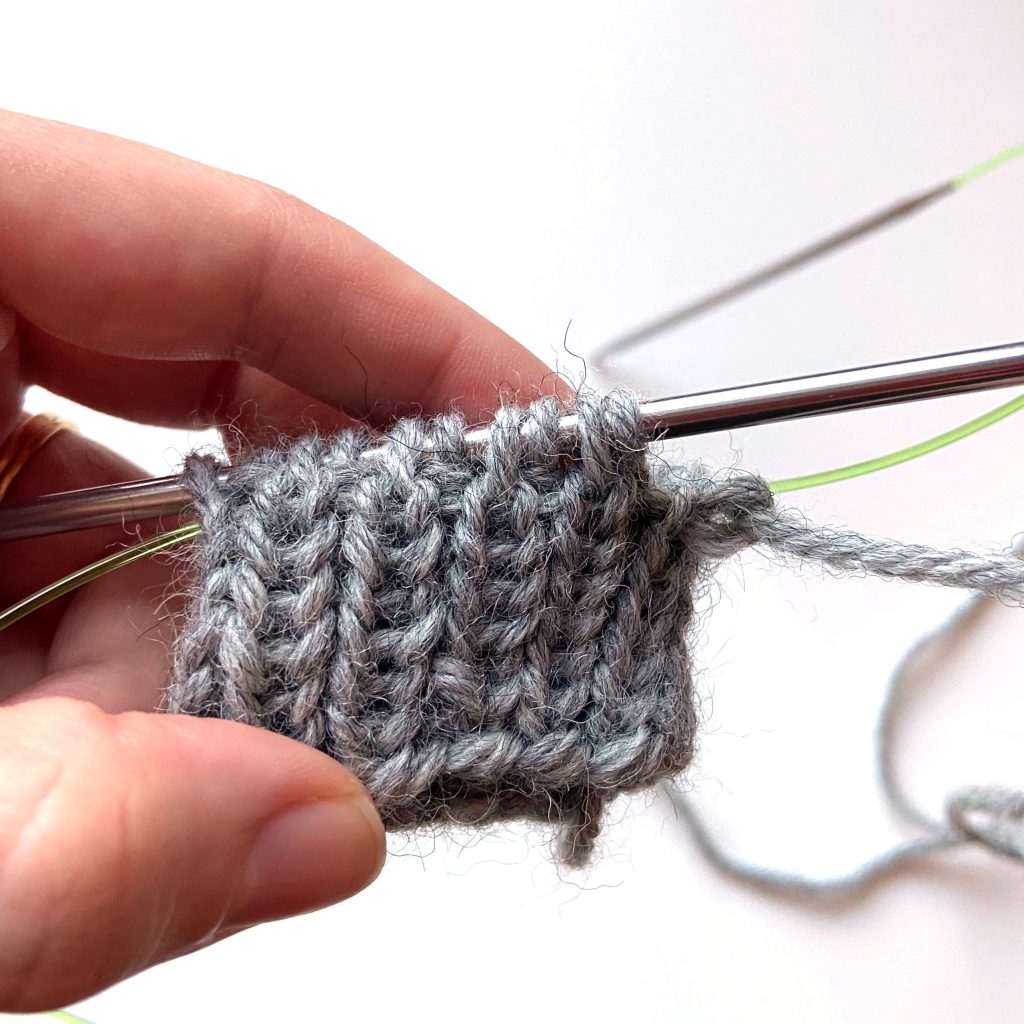
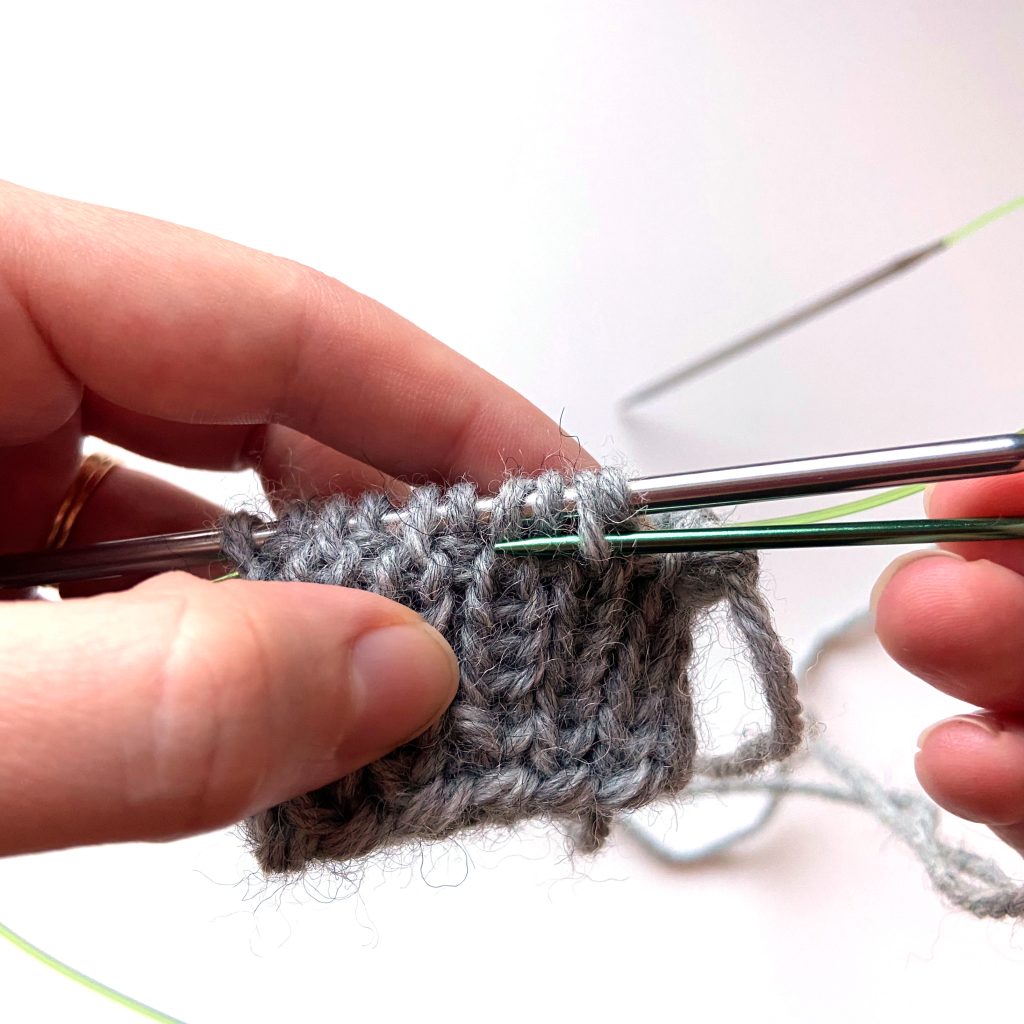
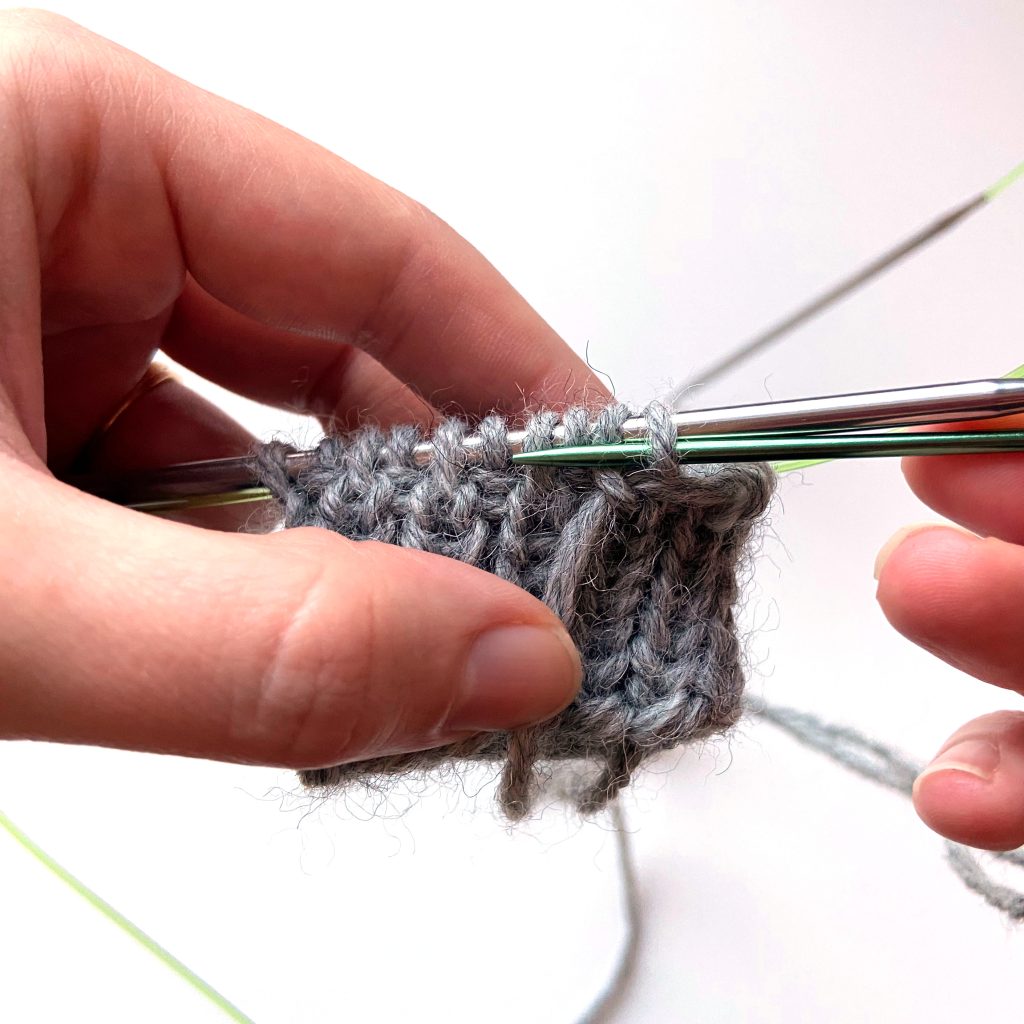
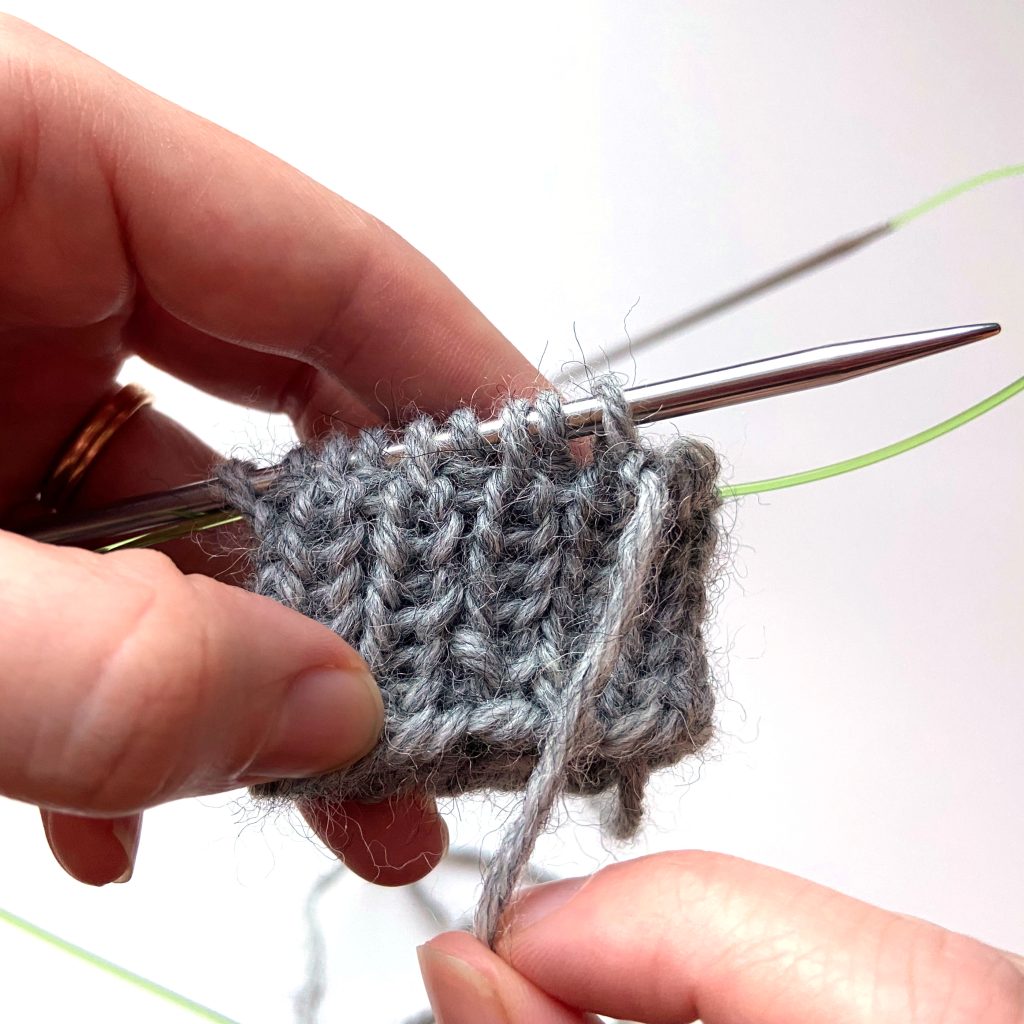
Video Tutorial
Tubular Bind-Off Flat
If you’re applying this method flat. There are a few small differences. First the setup rows are as follows:
- Row 1 (RS): knit all the knit stitches and slip the purl stitches purlwise with yarn in front
- Row 2: (WS): knit all the knit stitches and slip the purl stitches purlwise with yarn in front
Then before starting to go through the steps 1 to 7 presented above do the following setup:
- Setup: Go through the first knit stitch purlwise and leave it on the needle. Go through the first purl stitch knitwise and leave it on the needle.
Repeat steps 1 to 7 until 1 stitch remains.
Tubular Bind-Off for 2-by-2 Ribbing
This method can be used for 2 x 2 ribbing as well but you need to first convert it to 1 x 1 ribbing with the instructions provided here.


