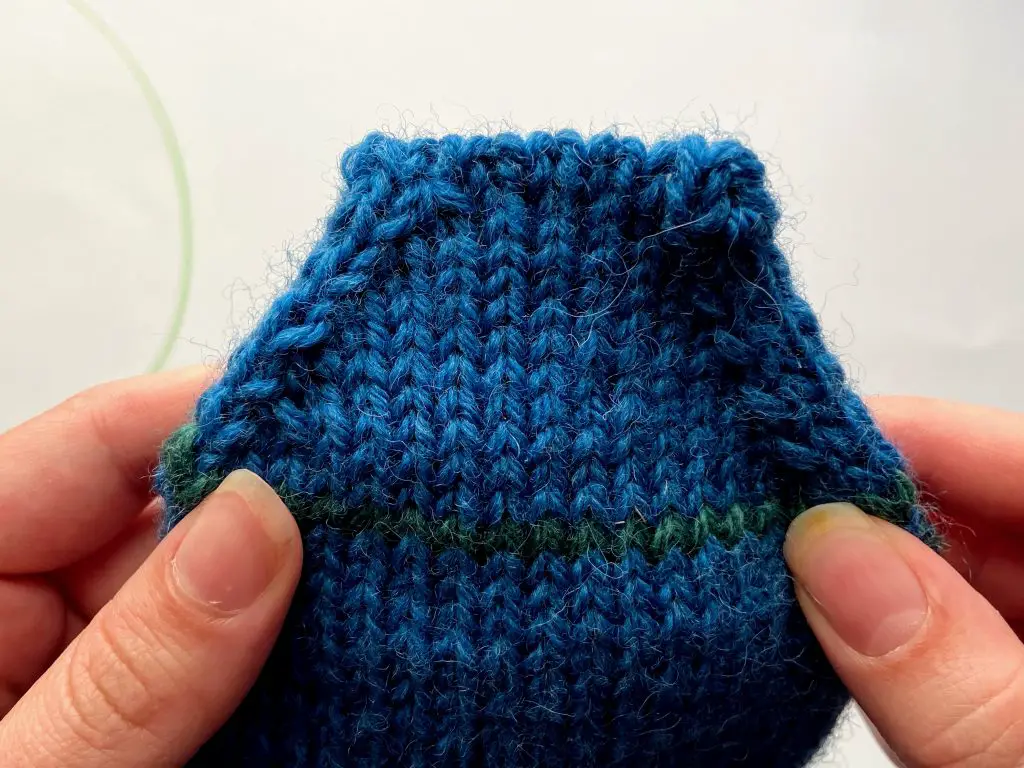
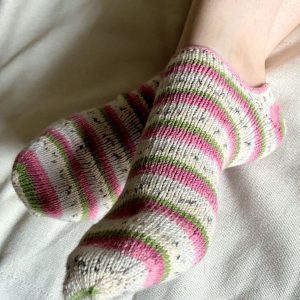
The primary purpose of grafting is to join two pieces of knitting so that the seam is as invisible as possible. If you have 6 to 12 stitches remaining, for instance when you make a round toe, you can close the toe running the yarn through the final stitches and pulling snug. But if you make a wider toe such as the wedge toe, and you have more than 12 stitches remaining it is better to graft the toe.
In this article you can find three methods for grafting the toe of a sock:
1. Kitchener stitch
Kitchener stitch is probably the most commonly known method of grafting.
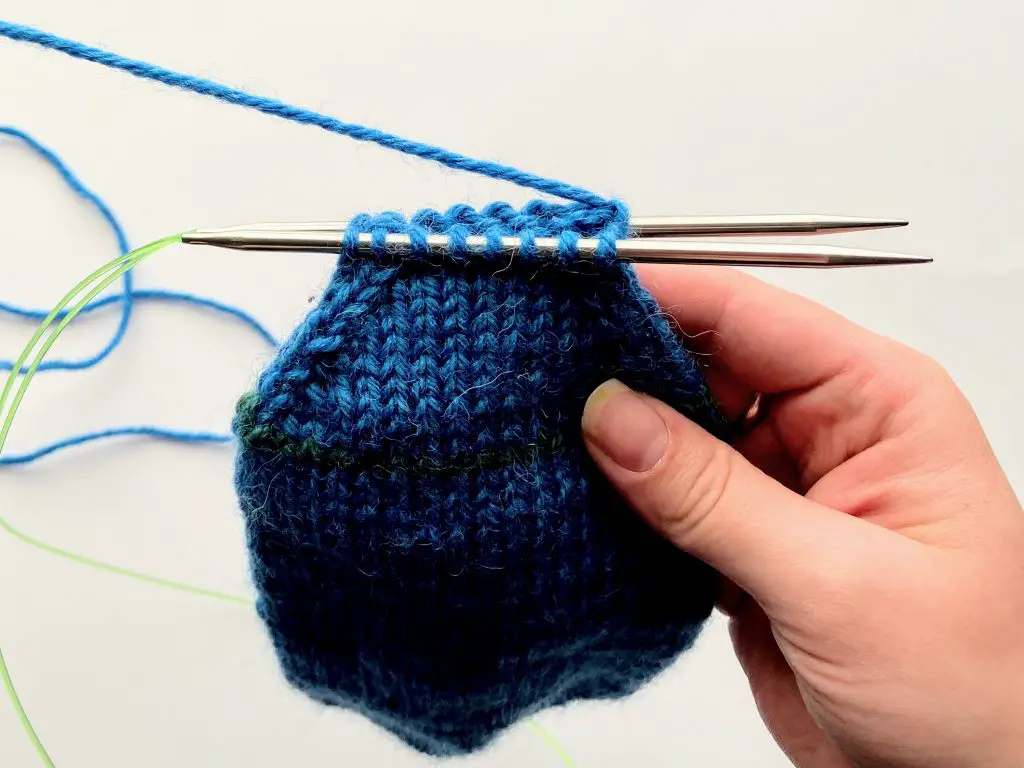
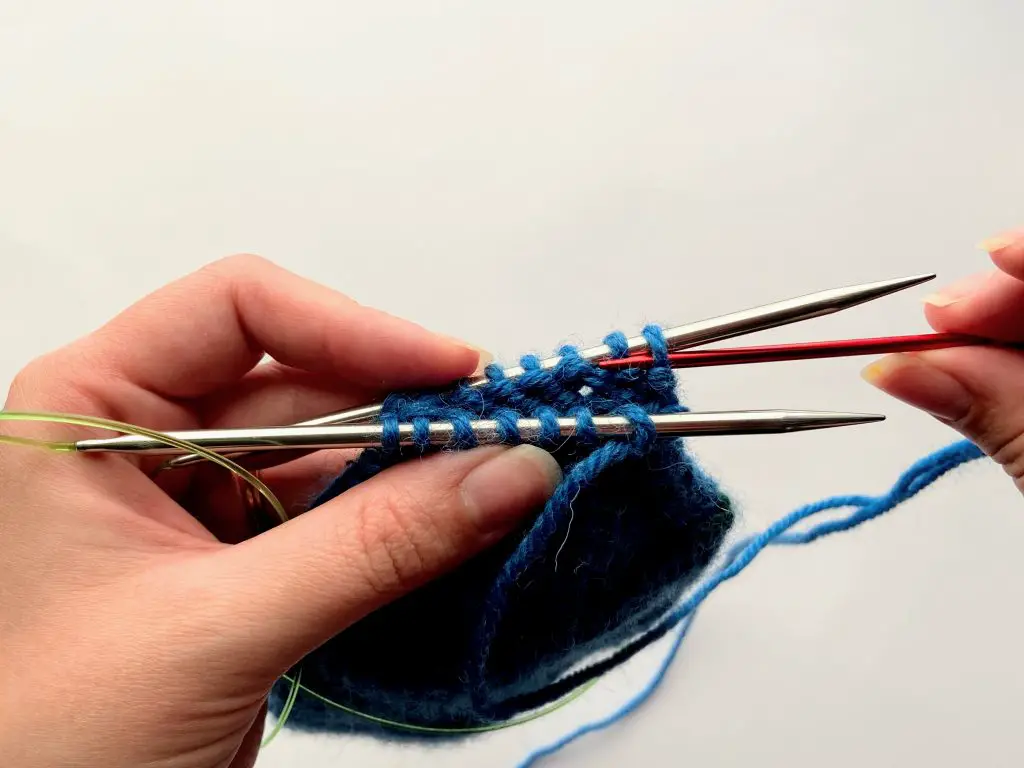
Hold your needles parallel with the tips facing your right hand and to working yarn coming from the last stitch of the back needle. You should have an equal amount of stitches both on the back needle and front needle.
Break the yarn leaving approximately 12’’ inc (30cm) tail. Thread through a tapestry needle.
If you have trouble remembering the steps here you can find 4 simple rules that help you memorize the Kitchener stitch.
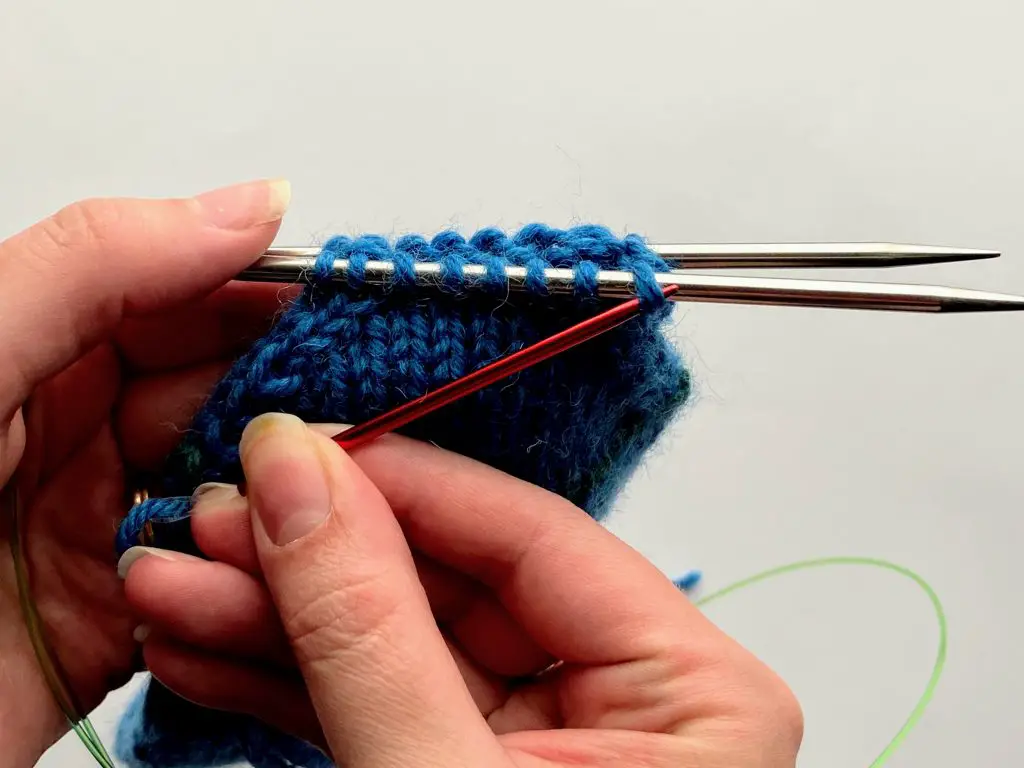
The stitches are worked in pairs. Work two stitches on the front needle, then two stitches on the back needle, two stitches on the front needle, and so on.
Step 1: Work the pair on the front needle
- Go through the first stitch knitwise and drop the stitch.
- Go through the second stitch purlwise and leave it on the needle.
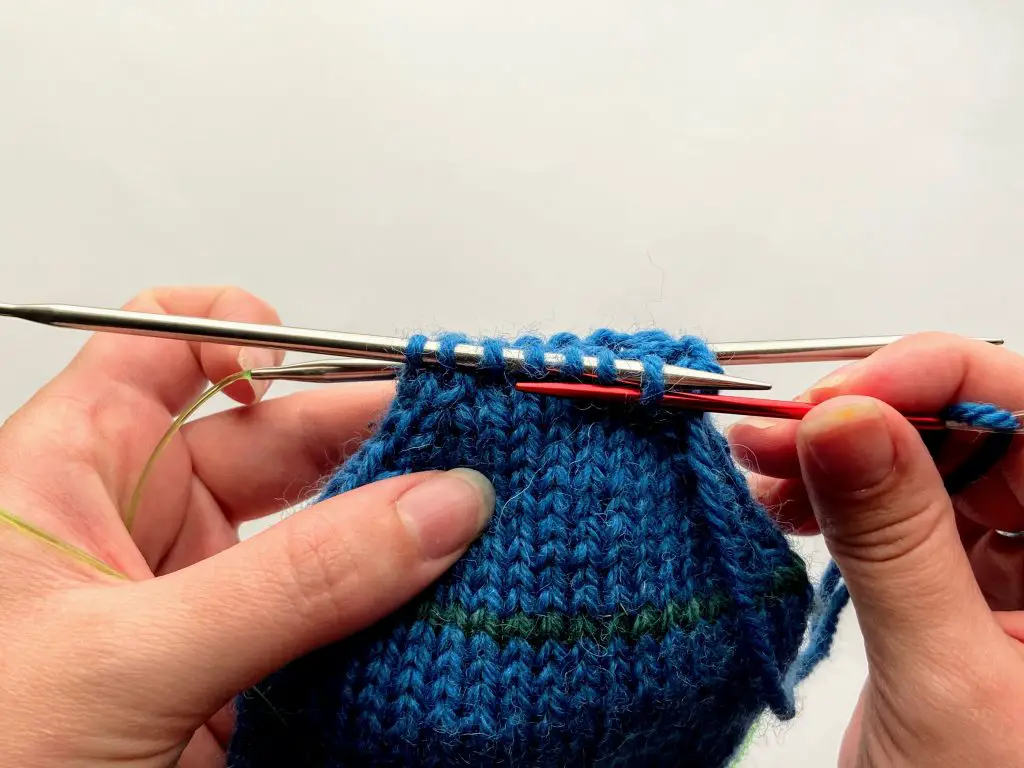
Step 2: Work the pair on the back needle
The steps on the back needle are the opposite:
- Go through the first stitch purlwise and drop the stitch.
- Go through the second stitch knitwise and leave it on the needle.
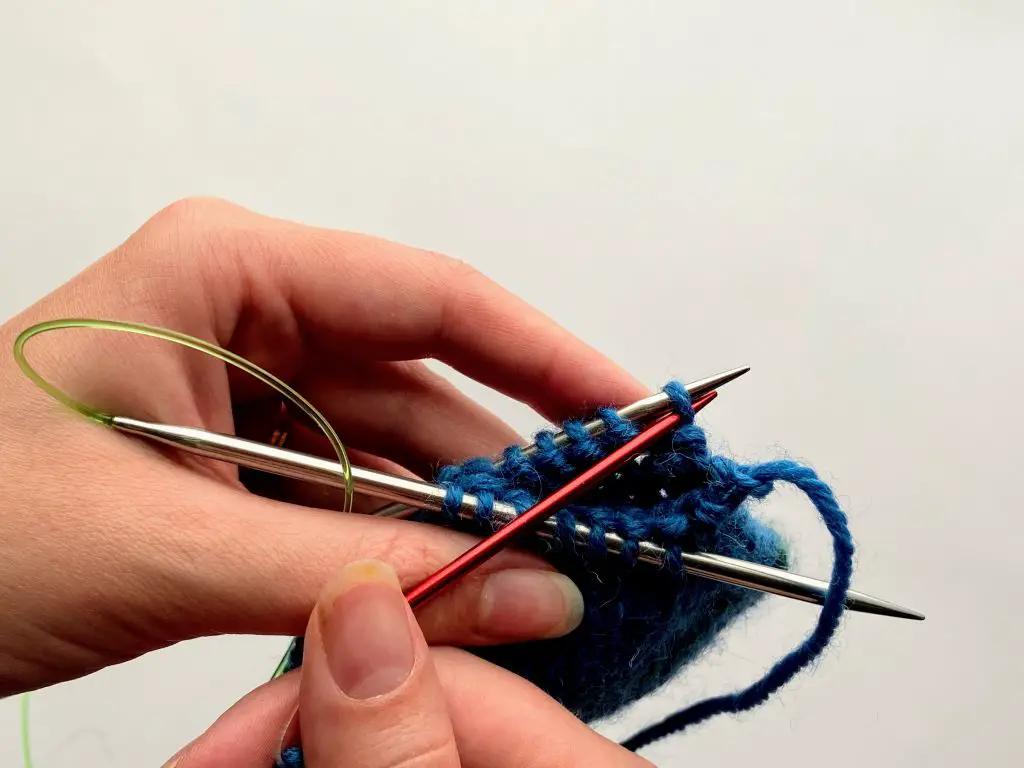
Repeat the steps until you have 1 stitch remaining on both of the needles
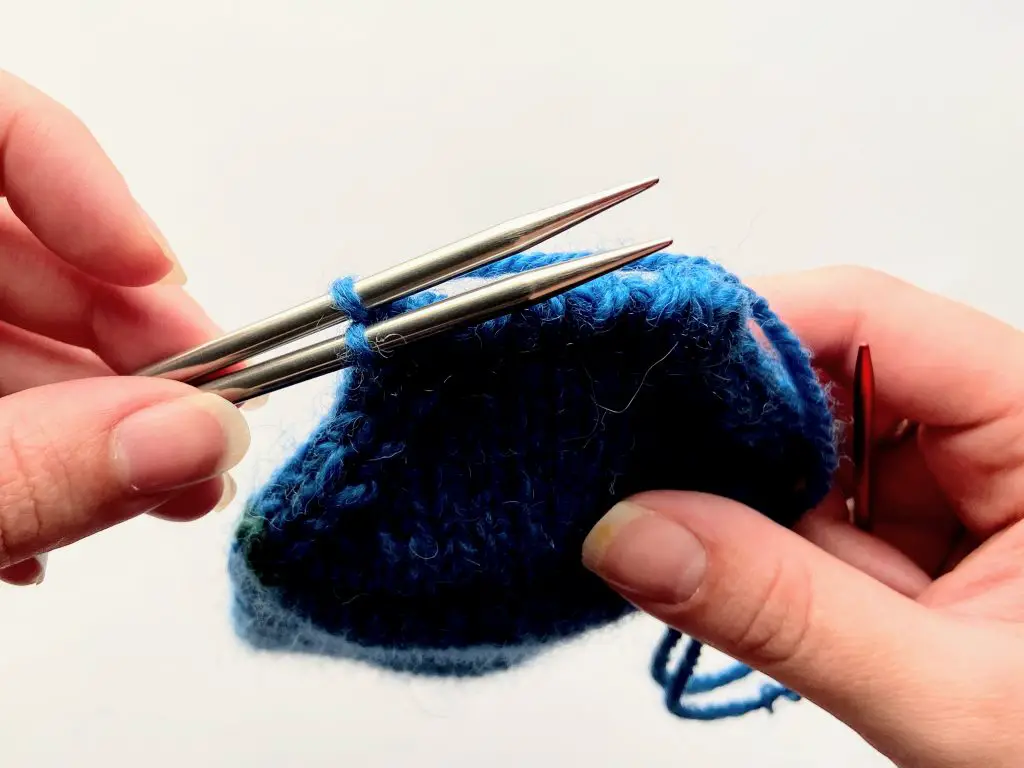
Repeat the steps until you have 1 stitch remaining on both of the needles and then drop both of the stitches. Pull the yarn through to the other side and weave in ends carefully.
If you prefer a video tutorial Suzanne Bryan has made a very good one:
2. Finchley Graft
The Kitchener stitch is a technique that you might need to practice a few times before you master it. Luckily there is a method that is significantly easier to learn and remember than the Kitchener stitch. It is called the Finchley graft. You need to turn your sock inside out if you do the Finchley graft.
3. Three needle bind-off
With the three-needle bind-off method the seam is a little bit bulkier than with the two previous methods but you don’t have to use a tapestry needle. You need to turn your sock inside out when using this method.


2 Responses
Great piece of information on socks. Thanks for putting these together and appreciate your effort.
That is a fantastic blog post. Nice tips & details have been given for creating arts & crafts projects at home with utmost ease. All the steps & tips you have specified in the above article are very informational and less time-consuming. This post will help even novices in instructing them from the beginning.