With the help of these 4 very simple rules, you’ll easily remember the steps for the Kitchener stitch. In addition to stockinette, these rules apply for any knit and purl stitch combination such as 2 by 2 ribbing or seed stitch.
Why every knitter should learn the Kitchener stitch
Kitchener Stitch is a technique for grafting live stitches together. In my opinion, it is an essential skill for every knitter since it can be used to create invisible seams.
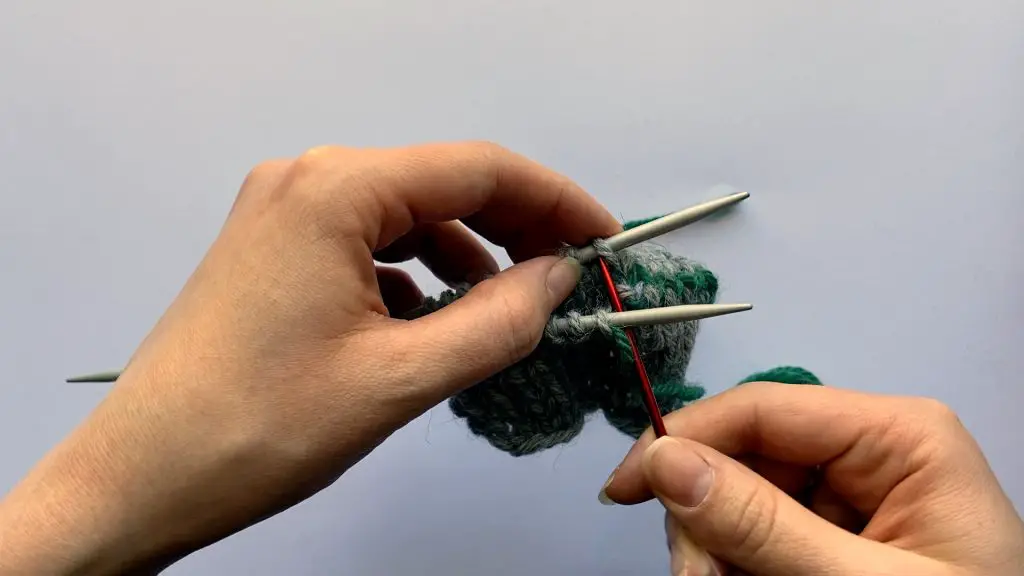
The Kitchener stitch is used for instance to:
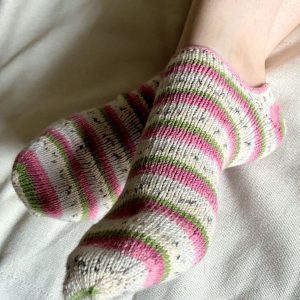
- Close the toe of a sock
- Make a very beautiful and stretchy bind-off edge (the technique is called the tubular bind-off)
- Join the ends of an infinity scarf or headband
- Join two knitted pieces together for instance in a case where you need to remake the neckline of a top-down sweater and you don’t want to undo the whole sweater.
4 simple rules that help you to memorize the technique
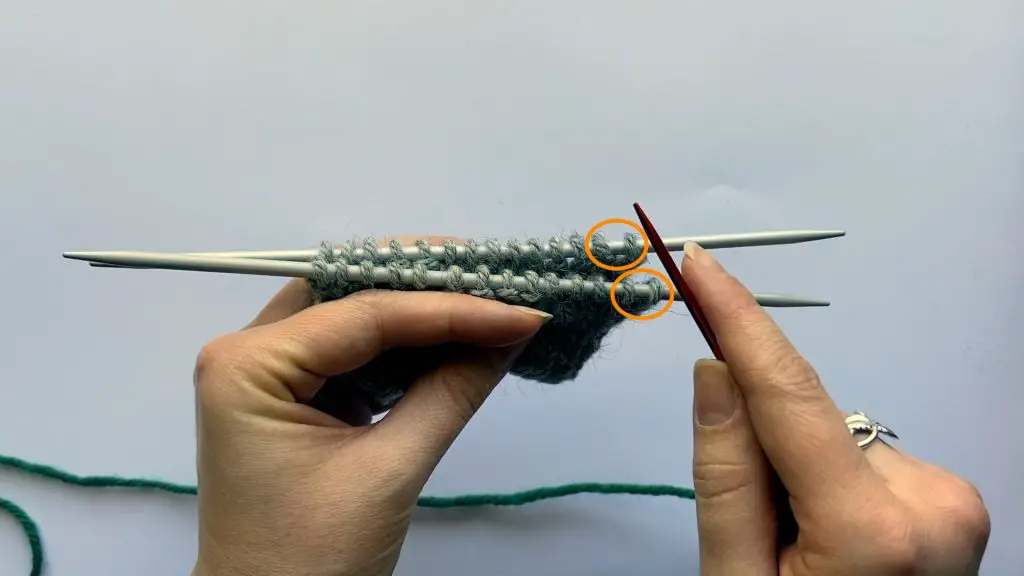
1. The stitches are worked in pairs
You first work two stitches from the front needle, two stitches from the back needle, two stitches from the front needle and so on as long as you have worked all the stitches.
2. The first stitch sets the direction
If the first stitch of the pair is a knit stitch, you’ll go through it knitwise. If the first stitch of the pair is a purl stitch you go through it purlwise.
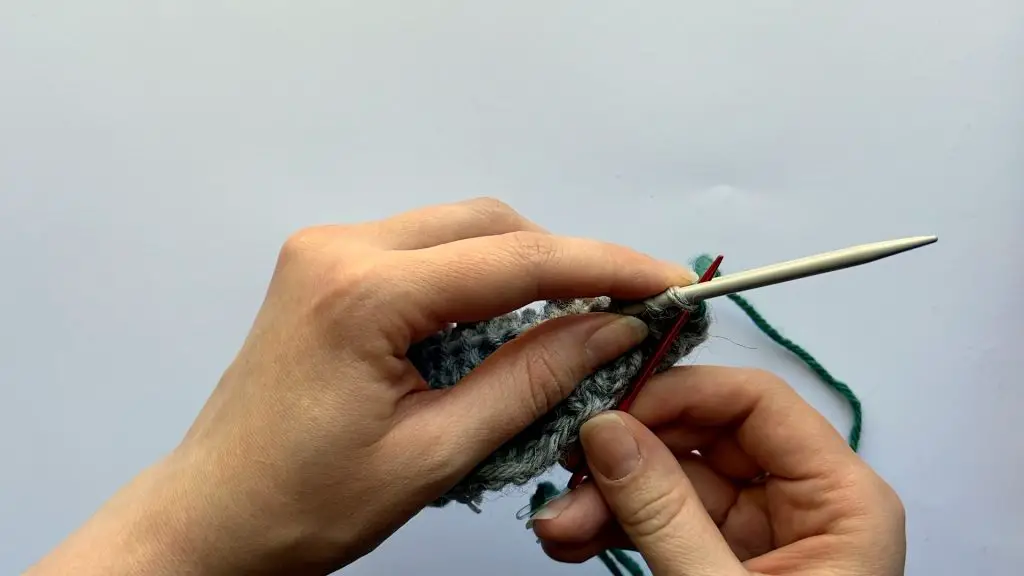
3. The first stitch of the pair is dropped
After working the first stitch of the pair you’ll always drop the stitch. The second stitch always stays on the needle.
4. If the stitches are the same the directions are different and vice versa.
If the stitches are the same the directions are different. If the stitches are different the directions are the same.
If the stitch pair you are going to work next are two knit stitches, you go through the second stitch purlwise because the stitches of the pair are the same type. Similarly, in the case of two purl stitches next to each other, you go through the second stitch knitwise.
If the first one is a knit stitch and the second one is a purl stitch you’ll go through both stitches knitwise. Similarly, if the first stitch is a purl stitch and the second stitch is a knit stitch you’ll go through both stitches purlwise.
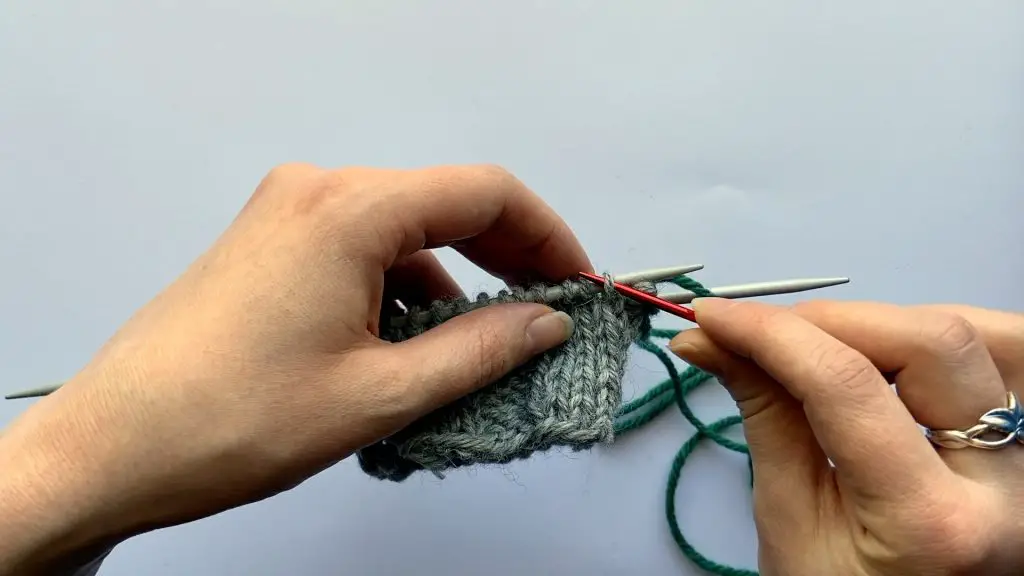
Step by Step Image Tutorial (in stockinette)
Setup round
I usually only do the setup round if I graft flat. You can remember the setup round by imagining that next to the first stitch on the front needle was a knit stitch you already worked knitwise and dropped so you go the first stitch on the front needle purlwise. Similarly, you imagine that next to the first stitch on the back needle was a purl stitch you already worked and you go through the first stitch on the back needle knitwise.
If I’m closing the toe of a sock I usually skip the setup round because that way the end result is in my opinion much neater and there are no “ears” at the beginning.
Before you begin
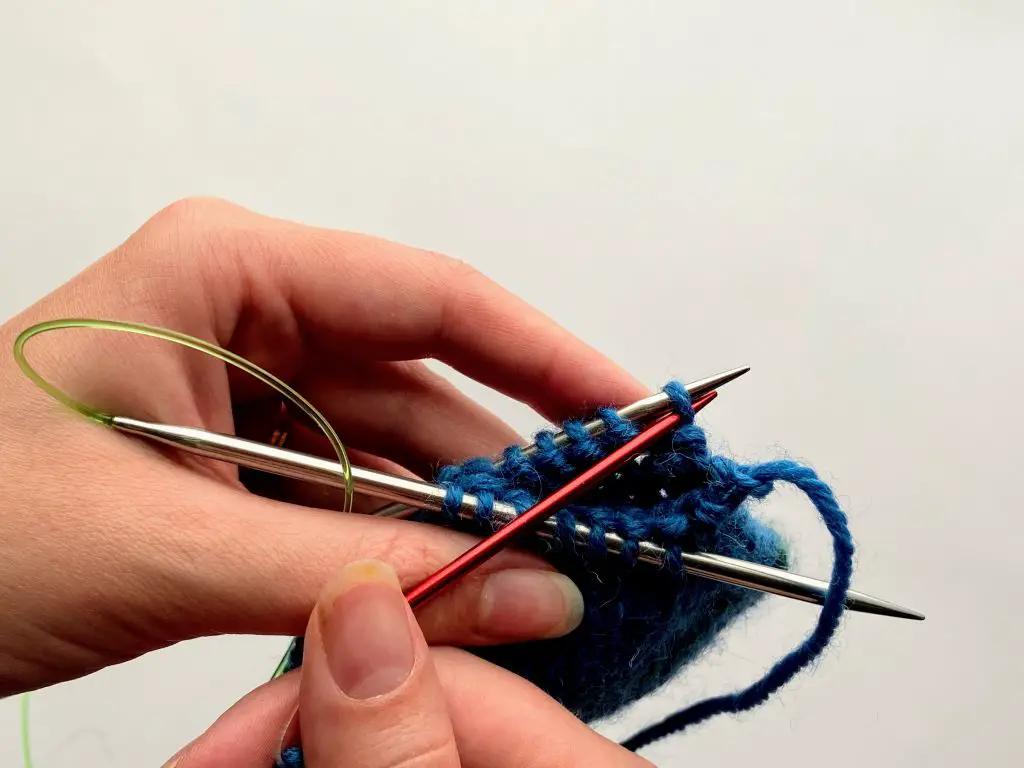
Make sure your stitches are on 2 needles and wrong sides are facing each other. You should have the same number of stitches on both needles and the yarn is attached to the back needle.
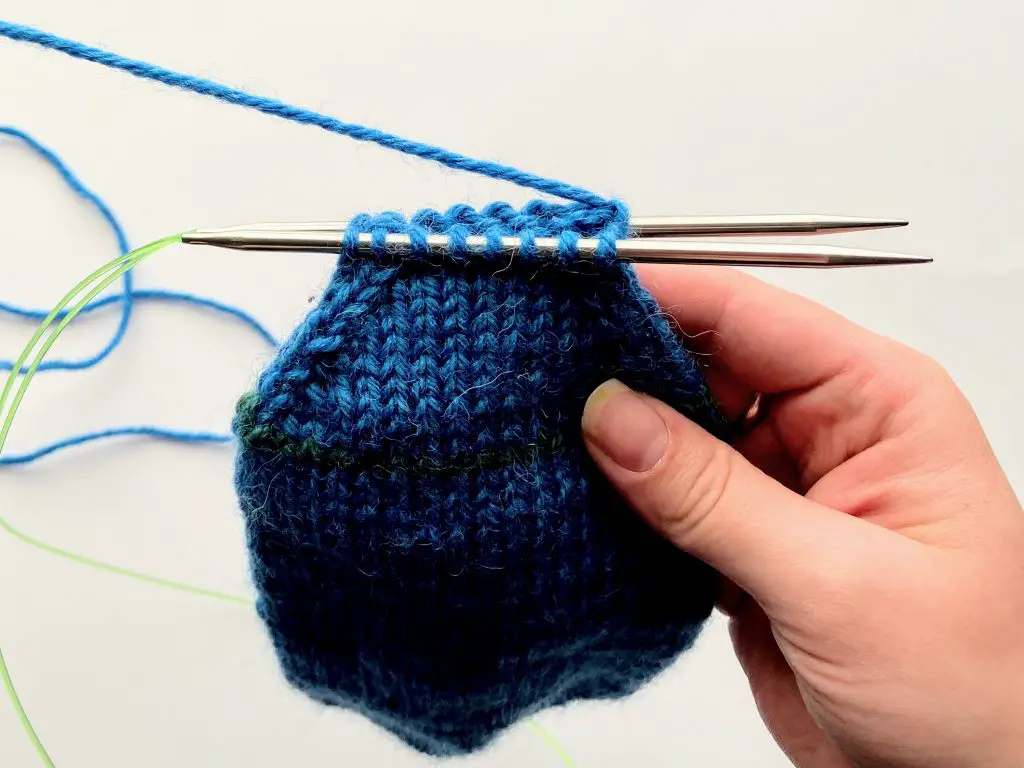
Step 1: Work the pair on the front needle
Go through the first stitch knitwise and drop the stitch.
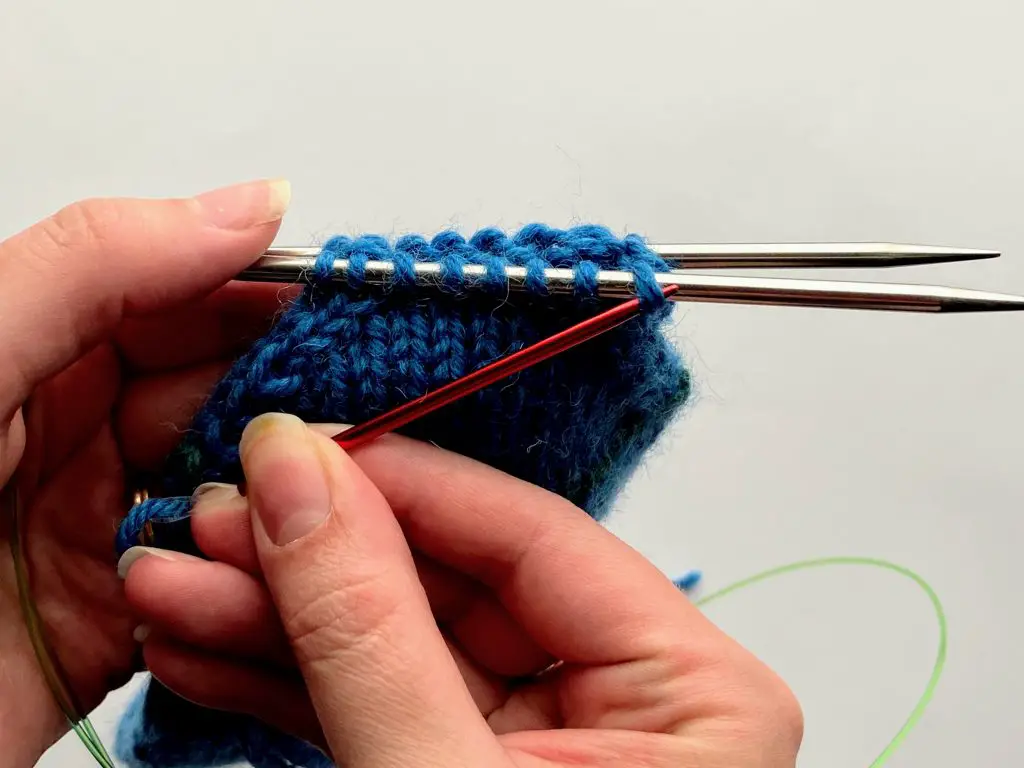
Go through the second stitch purlwise and leave it on the needle.
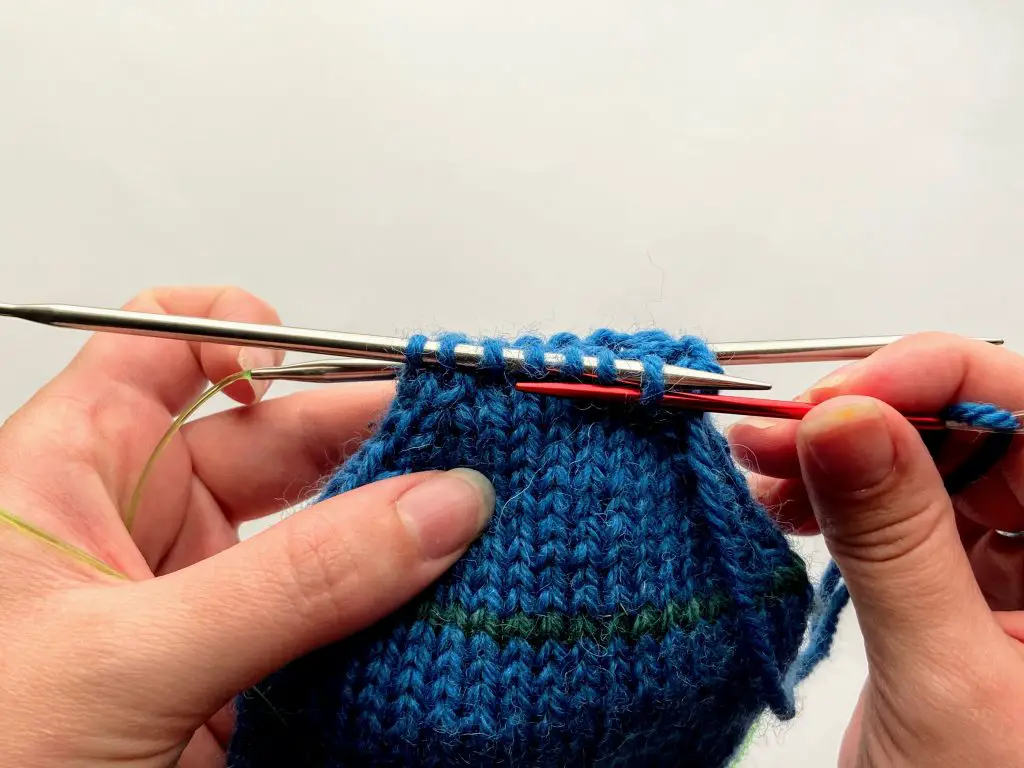
Step 2: Work the pair on the back needle
Go through the first stitch purlwise and drop the stitch.
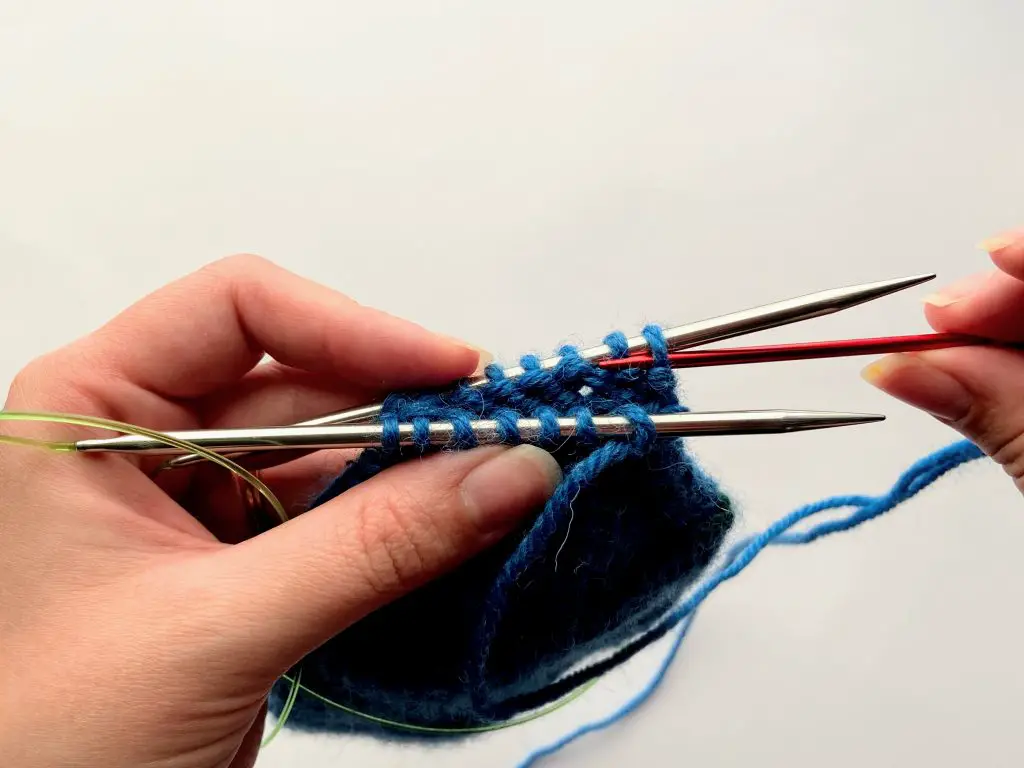
Go through the second stitch knitwise and leave it on the needle.
Repeat the steps
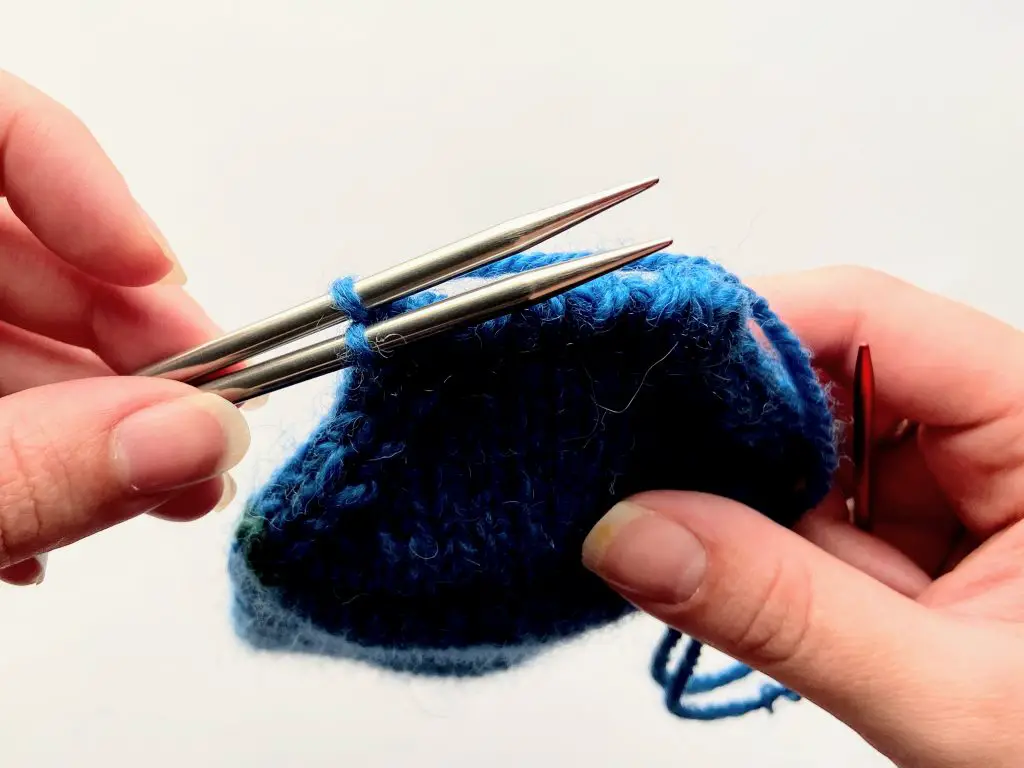
Repeat the steps until you have 1 stitch remaining on both of the needles and then drop both of the stitches. Pull the yarn through to the other side and weave in ends carefully.
Step by Step Video Tutorial
Checkout from my Youtube channel a step by step guide for following these rules and drop a comment below if you think these rules helped you to memorize the Kitchener stitch.






15 Responses
I am wondering if the set-up changes if the first 2 stitches differ from one another.
Hi! Thank you very much, really helpful!
Wow! Finally this makes sense! Thanks so much for showing your tips!
I am making a top down hoodie sweater that calls for using the kitchner stitch to close the hood. I have a few questions, how do I attach yarn to start the grafting and how do I end to eliminate the pointy “ear”?
I usually don’t attach the yarn but instead, when I cut the working yarn I leave it long enough so that I can use it for the Kitchener stitch. You can avoid the ear by skipping the setup stitches and when you have two stitches remaining on your needles you drop them.
Suzanne Bryan has made a great video about this topic. You can find it here.
-Ida
Very helpful video! I’ve been knitting socks for nearly 15 years and yours is the best Kitchener tutorial I’ve found yet!
Thank you 😊
Hi Denise! Thanks for taking your time to leave such a nice comment. I’m glad I was able to help!
Do you do the set-up stitch? (Which is actually just working the second half of a “pair” before you begin.) I once had a discussion with a knitting instructor at Stitches West who insisted the set-up is required, but I find it works fine without it. Interested in your thoughts. Thanks for this very clear posting.
Hi Sue!
I do setup only if I graft flat but if I work in the round I skip it because I find the end result is much neater that way (no ears). Thanks for dropping by and leaving a comment. I think I’ll write a paragraph about the setup round to this post to make it a bit more helpful. -Ida
When do you use this stitch and why.
The Kitchener stitch can be used to create an invisible seam. This technique is used for instance to close the toe of a sock or sometimes if you have to cut your knitting to fix a mistake you can then seam the pieces together with the Kitchener stitch and the knit looks like it has never been cut.
ida – thanks for this. maybe now my finished socks will look better at the toe! i wonder…could this conceivably be used on a sweater side seam instead of the mattress stitch if you first somehow pick up the (albeit sideways) stitches?
Hi Jane!
I’ve never tried that way so hard to say how it looks but in theory yes if you pick up the stitches from the side seams.
This info is great. TY. I saved the link.
Thanks Kathy for taking your time and leaving a comment!