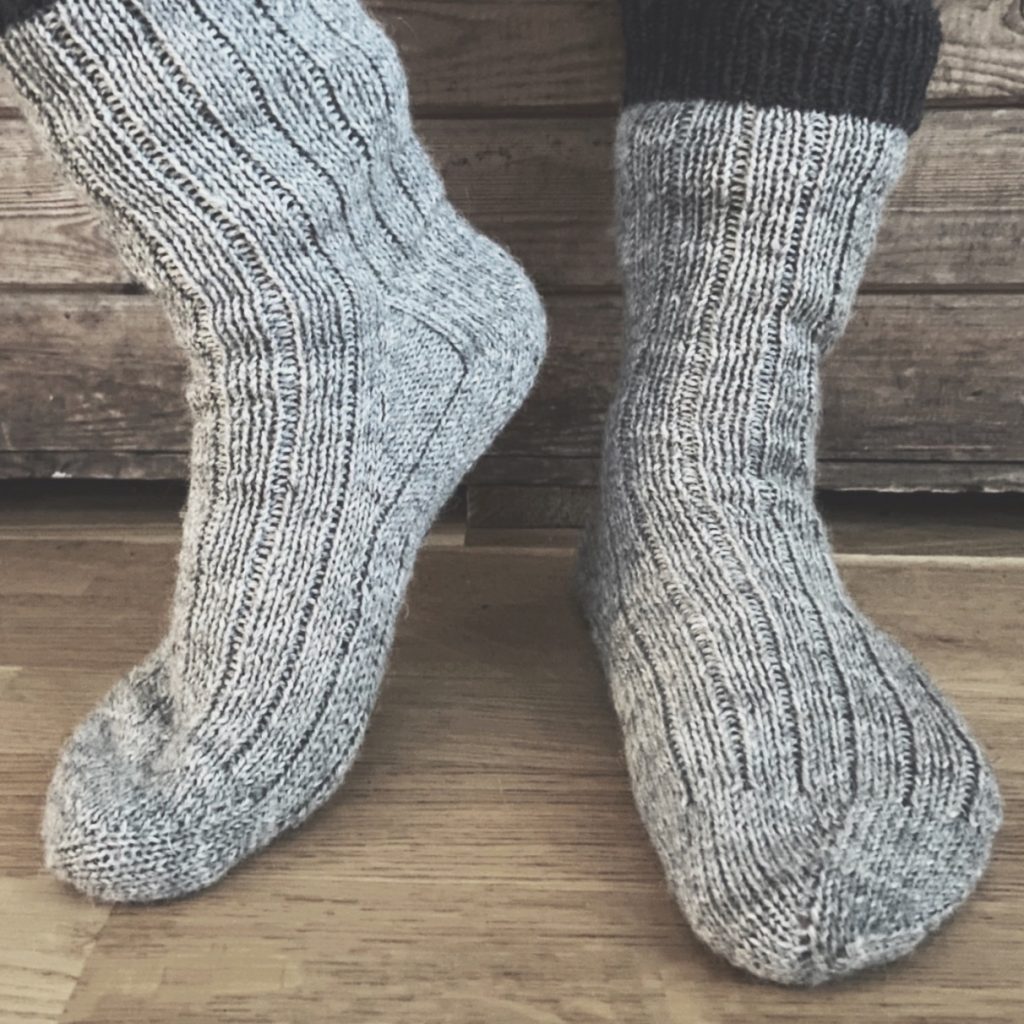
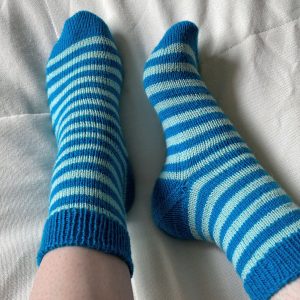
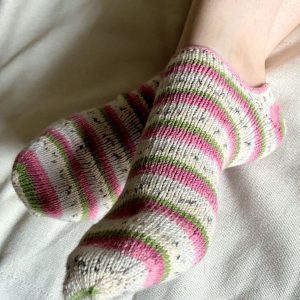
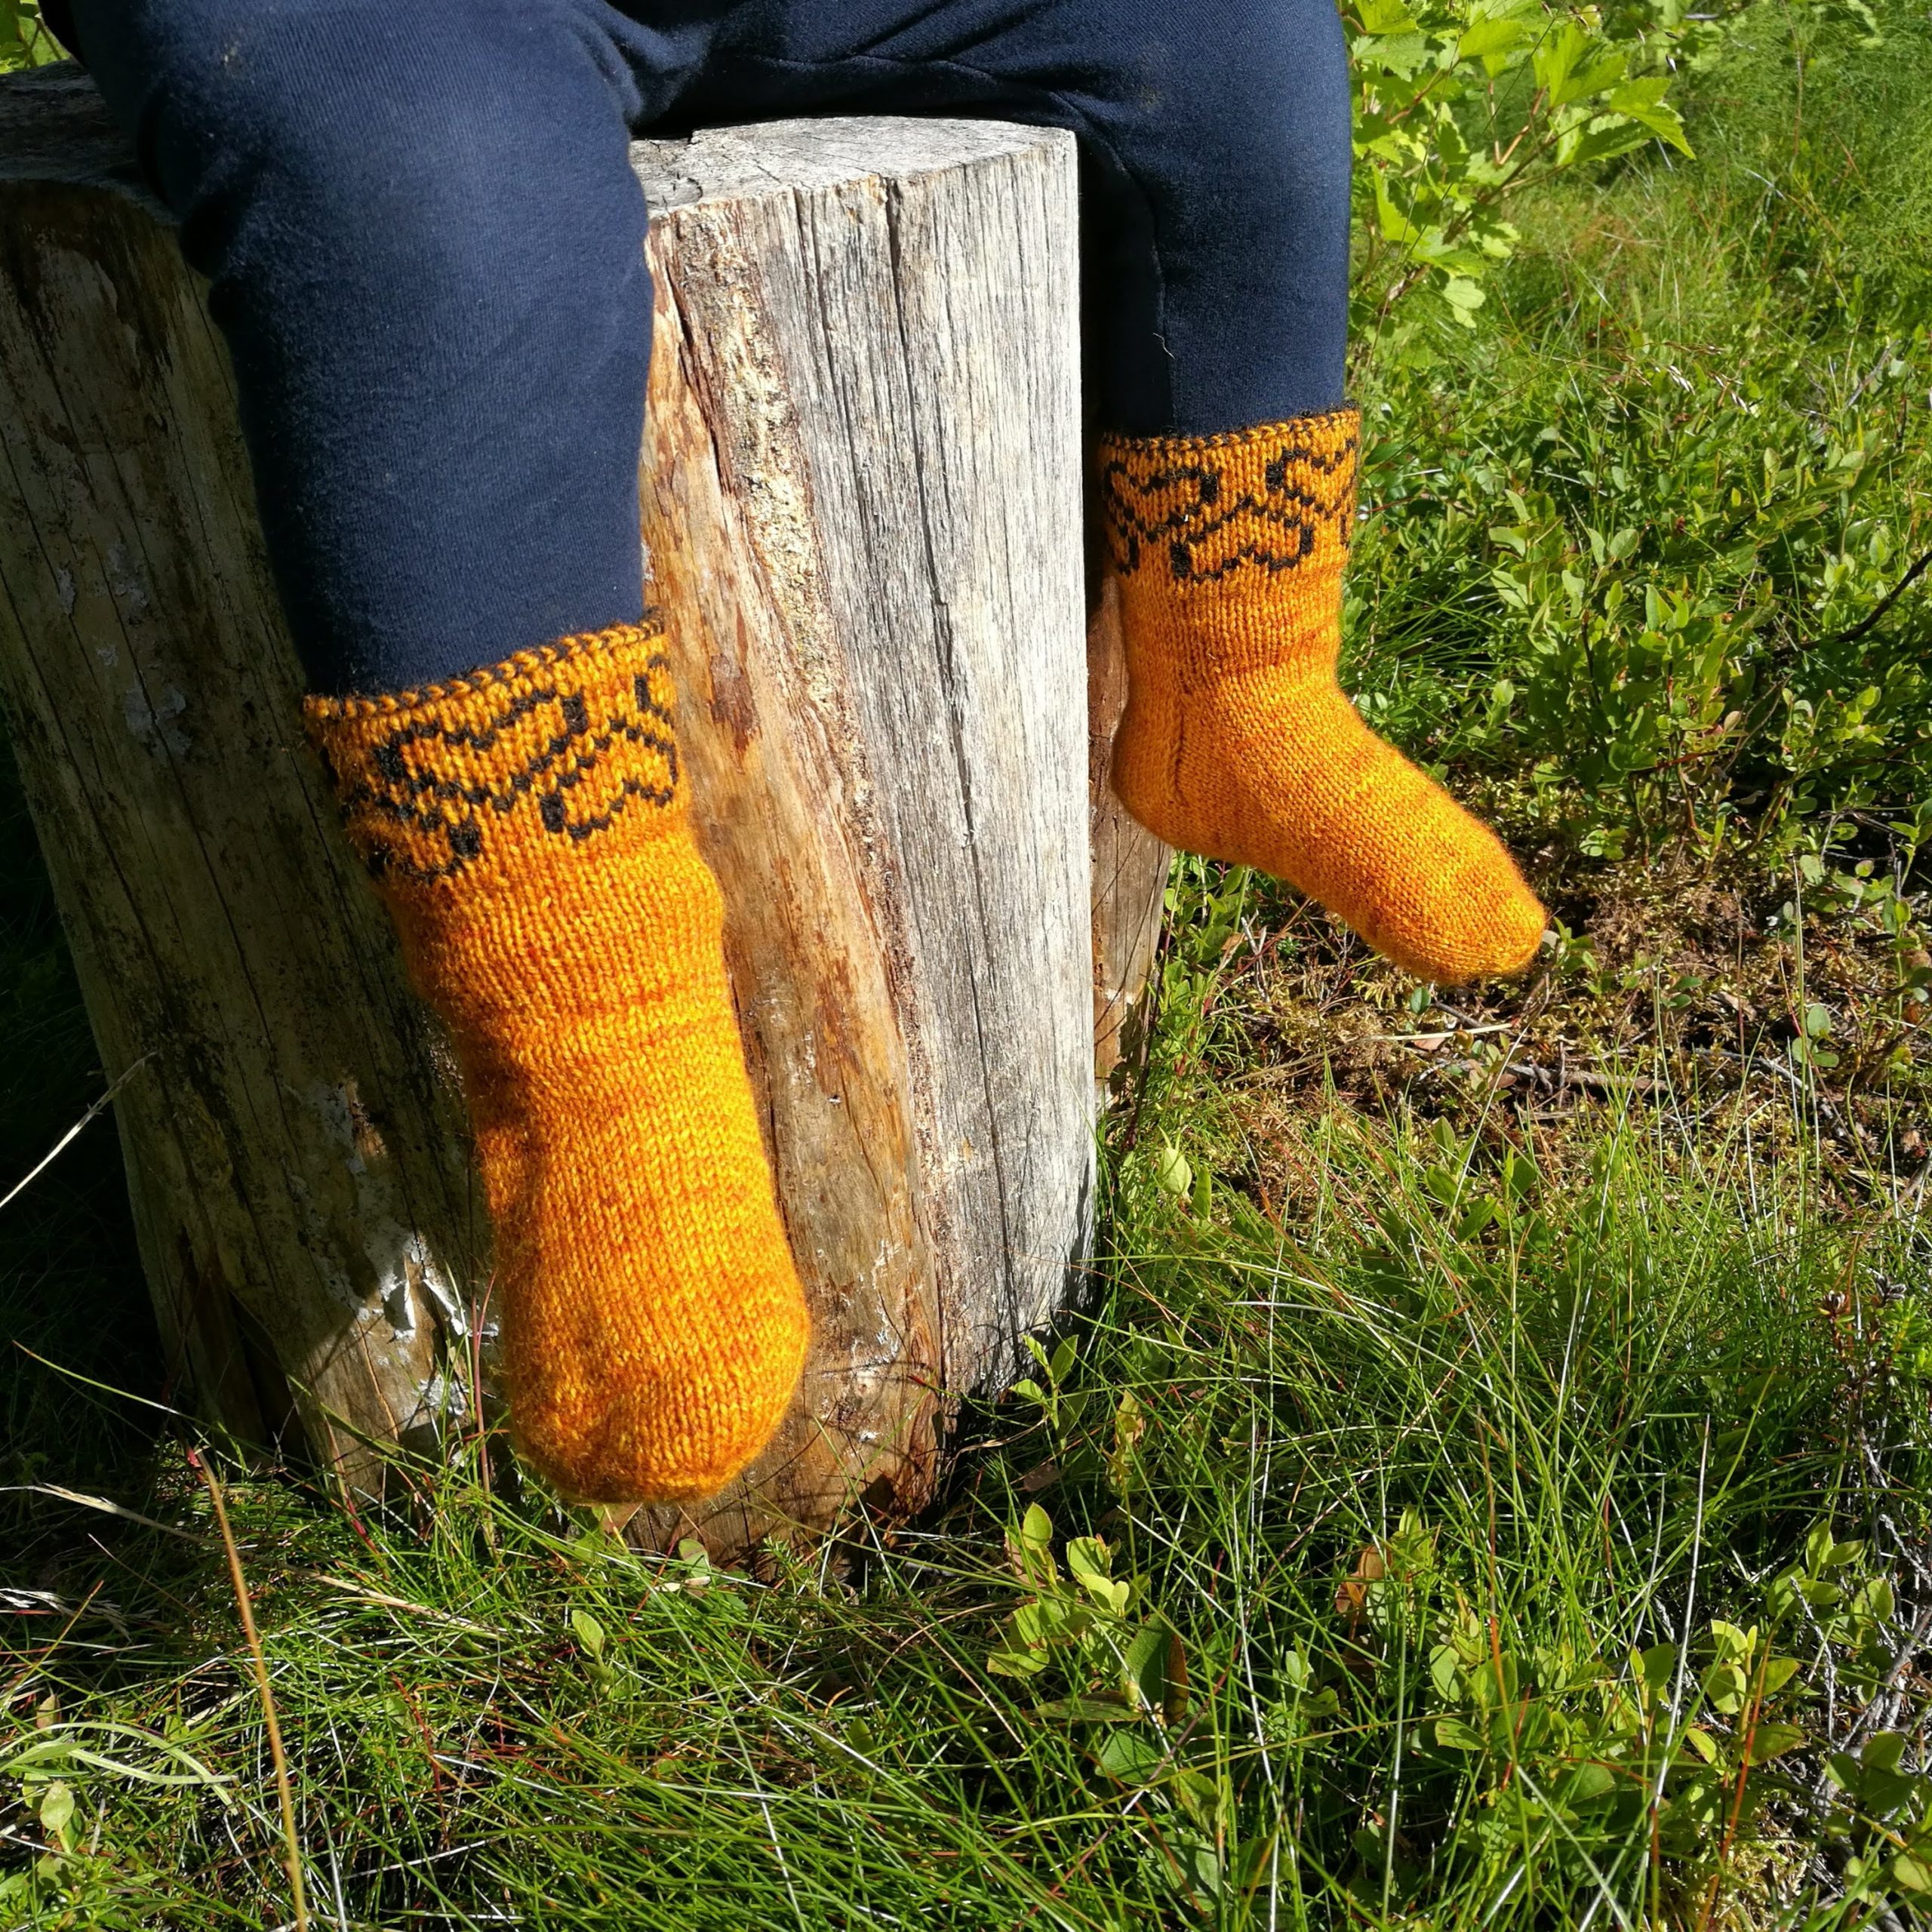
With the help of this interactive pattern you can easily make a reinforced flap and gusset heel for your toe up sock. This recipe works for any yarn and gauge and it requires no picking up of stitches. All you need to know is the total amount of stitches you have per sock and your row gauge and you’ll get detailed instructions how to make the heel.
The stockinette version of this heel you can find here and more heel patterns for toe-up socks here.
This pattern is part of my universal basic sock pattern.
I usually like to knit my sole and gusset stitches in stockinette. It means that if I make a ribbed sock I usually work in ribbing only on Needle 1 (instep needle) but the sole stitches (Needle 2) including the gusset stitches I work in stockinette. After finishing the heel I start to work in ribbing also on Needle 2.
On knitgrammer.com you can find also patterns for afterthought heel (toe up or cuff down), short row heel (toe up or cuff down) as well as dutch and french heel for cuff down socks.

Abbreviations
Knitting abbreviations used in this pattern you can find here.
sts on my needles rows / 4” (10cm).
This pattern is written for the magic loop method but you can easily adjust it for the double pointed needles as well.
Gusset increases
You should now have a total of 56 sts divided evenly on two needles (28 sts on each needle). From toe up knit until your work measures 4” [10 cm] less than desired length. Start the gusset increases.
Round 1
- Needle 1: k all
- Needle 2: m1l, k to end, m1r
Round 2
- Needle 1: k all
- Needle 2: k all
Repeat rounds 1 and 2 11 more times. 24 sts increased on Needle 2.
Heel
You have now 12 gusset sts on each end of needle 2 and 30 sts in the middle. A total of 54 sts on Needle 2. While working the short rows the gusset sts are on hold.
Slip stitch pattern
Slip stitch repeat is worked flat over two sts.
- Right side rows: k1, sl1 wyib
- Wrong side rows: p all
Heel turn with short rows
K until you are at the beginning of Needle 2. The following rows 1-4 are worked on Needle 2 only.
- Row 1 (RS): k 12 sts, work in slip stitch pattern until 12 sts remain, k2, turn.
- Row 2 (WS): mds, p until 12 sts remain, turn.
- Row 3 (RS): mds, k2, work in slip stitch pattern to 2sts before double st (adjust sts so that they match the first row), k2, turn.
- Row 4 (WS): mds, p to double st, turn.
Repeat rows 3 & 4 until the last row you worked was mds, k2, work 10 sts in slip stitch pattern, k2. Do not turn your work.
On Needle 2 you should now have 12 gusset sts, 10 double sts, 10 sts on the right needle and 10 double sts and 12 gusset sts on the left needle.
Reinforced heel flap
K to last double sts, ssk, turn (k together through the back loop the last double sts with the first gusset st on hold.) Please note that double sts are knitted and purled through both legs.
- Row 1 (WS): sl1, p to last double st, p2tog, turn
- Row 2 (RS): sl1, k1, work in slip stitch pattern to 1 st before slipped st, k1, ssk, turn
- Row 3 (WS): sl1, p to slipped st, p2tog, turn
Repeat rows 2 & 3 until you have one gusset st left at each end of the Needle 2 (a total of 28 sts left on Needle 2).
Round 3 (RS): sl1, k1, work in slip stitch pattern to 1st before slipped st, k1, ssk, continue working in the round and k all sts on Needle 1, k2tog the first two sts on Needle 2, k to end of Needle 2.
You should have a total of 56 sts (28 sts on each needle).
The heel is now finished. Continue working in the round.


16 Responses
Hi,
I have used the reinforced heel twice now, both times at the beginning of needle 2, when I finish the heel and start to knit in the round, I end up with a hole/gap. I do not have this problem at the end of needle 2.
Advice please, am I missing something or doing something wrong?
Thanks.
Thank you!! Been looking all over for the math for one of these heels. I knit my socks with 52 sts as it fits me better AND VIOLA, here you were with this lovely calculator. Thanks!!
(Reposting because of auto-correct typing errors!)
Hello!
First thank you for these calculators, it is so useful!
I am always knitting my toe-up socks 2-at-a-time with magic loop in order to have identical socks (also for mittens or anything with pair).
I wanted to knit your reinforced heel for toe-up stocks but I am afraid that it is not compatible with 2-at-a-time , unless I dit the gusset increases on the wrong needle (I start doing them on instep needle rather than the sole).
I will correct this and do the gusset increases on the sole needle (needle 2).
Any comments for the upcoming steps for decreases on 2-at-a-time socks method?
Hi! I’m really enjoying how easy it is to memorize the pattern, and as a developer I LOVE that you added in a calculator for us (big bonus points!), but I seem to be having trouble with understanding your instructions for heel row 3 where you say “k2, work in slip stitch pattern to 2sts before double st (adjust sts so that they match the first row)”. I’ve gotten a ways into this once and had to rip back and start over because the heel started to seem lopsided.
Are you suggesting there will always be 3 knit stitches after the mds because we k2 and then start with the k1 stitch of the *k1, sl1wyib* repeat? Or because of the “adjust”, will there sometimes be 2 knit stitches, and sometimes 3?
What I’m getting is a very attractive diamond pattern with the knit stitches on the heel (I think I’ve seen this as eye of partridge somewhere else?), or is that caused by my mistake and it should definitely be straight ribbed lines?
Thanks so much -Jeph in Ohio, USA
Hi Jeph!
Adjusting means that you should slip a stitch at the same column as you slipped on the previous right side row but next to the double stitches there should always be two knit stitches.
You could also make it as you have done and it forms the diamond pattern that is indeed called the eye of the partridge. I find it very beautiful slip stitch pattern. That pattern is formed if you slip a stitch on columns that were not slipped on the previous right side row and knit stitches that were slipped.
I hope this answer helped you! If not please let me know and I’ll try to explain better.
-Ida
I was afraid you were going to say “just match to the stitch on the previous right side row”… For done reason I’ve never ever been able to “read” k1, sl1 stitches until I’m a few rows past. LOL Instead I’m guessing -it helps if I knit a few stitches in and then look at which stitches appear more recessed, and those I slip. We’ll see if this works.
You can use a stitch marker or a piece of scrap yarn to help you with the alignment. Just place it just after a slipped stitch and then you know that the stitch after the marker should be a knit stitch and stitch before a slipped stitch and then it should be easier to adjust the pattern.
I’ve been a knitter for years now, and never thought of this. THANK YOU!
PS I’ve been snooping your rendered HTML just to confirm my expectations of your SPANs etc for where calculated stitch counts etc appear. Seriously – you’re doing something I wanted to do a few years back but just felt it wasn’t worth the trouble. You’ve proved it is – thank you again.
You’re amazing
Like I’m amazed how it all works out just right
Thank you for making this available for everyone
Hi Kristine! Thanks for leaving such a nice comment. It made my day!
-Ida
I’m loving this modular pattern! My rounded barn toe and reinforced heel are just brilliant! I’d love to see more info on what comes in between. Logically, for me, jumping straight from toe to heel left out all the in between. I’m an experienced knitter but haven’t made a lot of socks, and the toe-up ones I’ve done have been very vanilla. I can see how your pattern could be even more friendly for those who are new to socks if they included details about the in-between parts.
I stumbled at the heel step because I started doing ribbing on the top of the foot but wasn’t sure which needle held the “top of foot” stitches and which held the sole stitches. I ended up ripping out the whole gusset and working it again, on the correct side. Maybe you could add some notes about doing different stitch patterns? Or at least label needle 1 as (top of foot)?
Hi Kitty! Thanks for taking the time to leave me feedback. This will help me to improve the pattern. I’ll add some clarifications in the near future.
I have been looking for a reenforced heel such as this but I knit socks cuff down do you have instructions for it ?
Yes! You can make either the dutch or the french heel and instead of stockinette work the slip stitch pattern on the heel flap.
Hi Ida,
I’m totally inspired by your reinforced heel for toe-up socks. The calculation is fantastic….the length fits exactly. The heel fits perfect and is really strong. No pickup stitches, no holes. Thank you very much! I will definitly come back to your site.
Thank you so much for your feedback Beate!