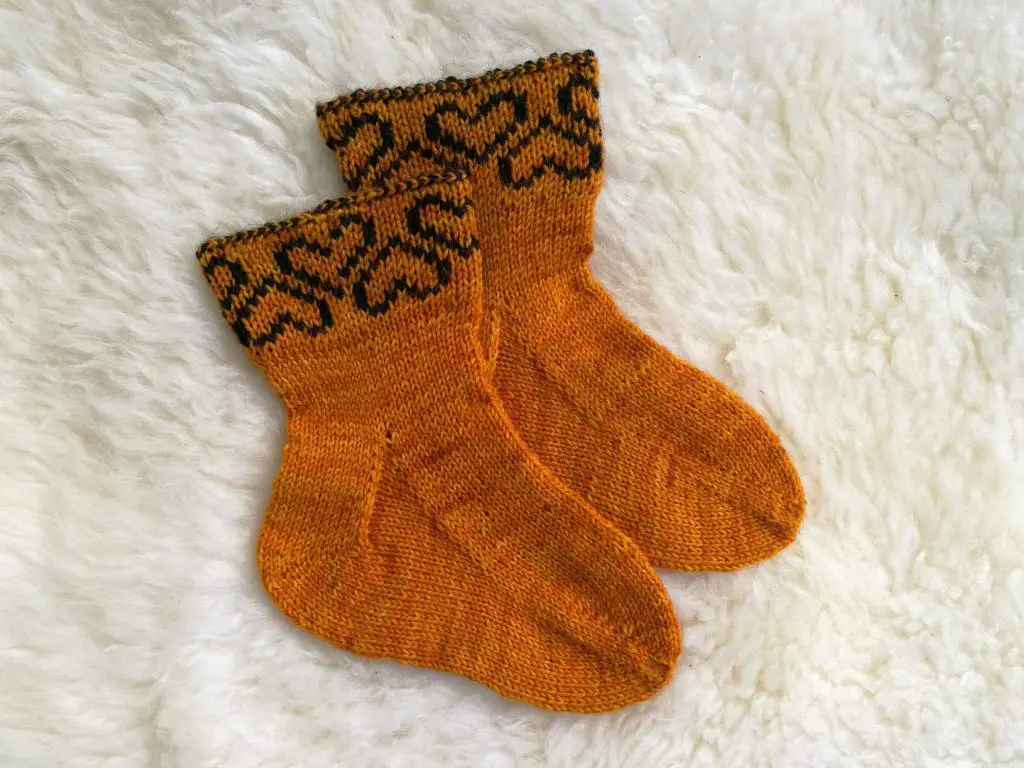
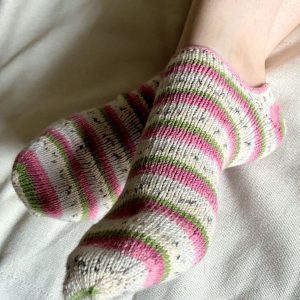
When I first began making toe up socks the hardest part for me was to figure out when to start making the heel. The math itself is not difficult but still it takes some time. I have saved you some trouble and I made this simple pattern which gives you the instructions how to make a flap and gusset heel for your toe up sock. This recipe works for any yarn and gauge and it requires no picking up of stitches. All you need to know is the total amount of stitches you have per sock and your row gauge and you’ll get detailed instructions how to make the heel.
A reinforced version of this heel you can find here and more heel patterns for toe-up socks here.
This pattern is part of my no swatch, any stitch count, any yarn sock pattern.
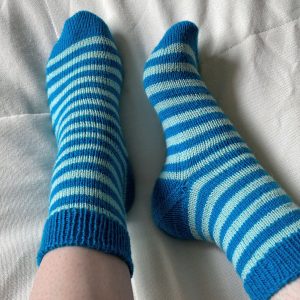
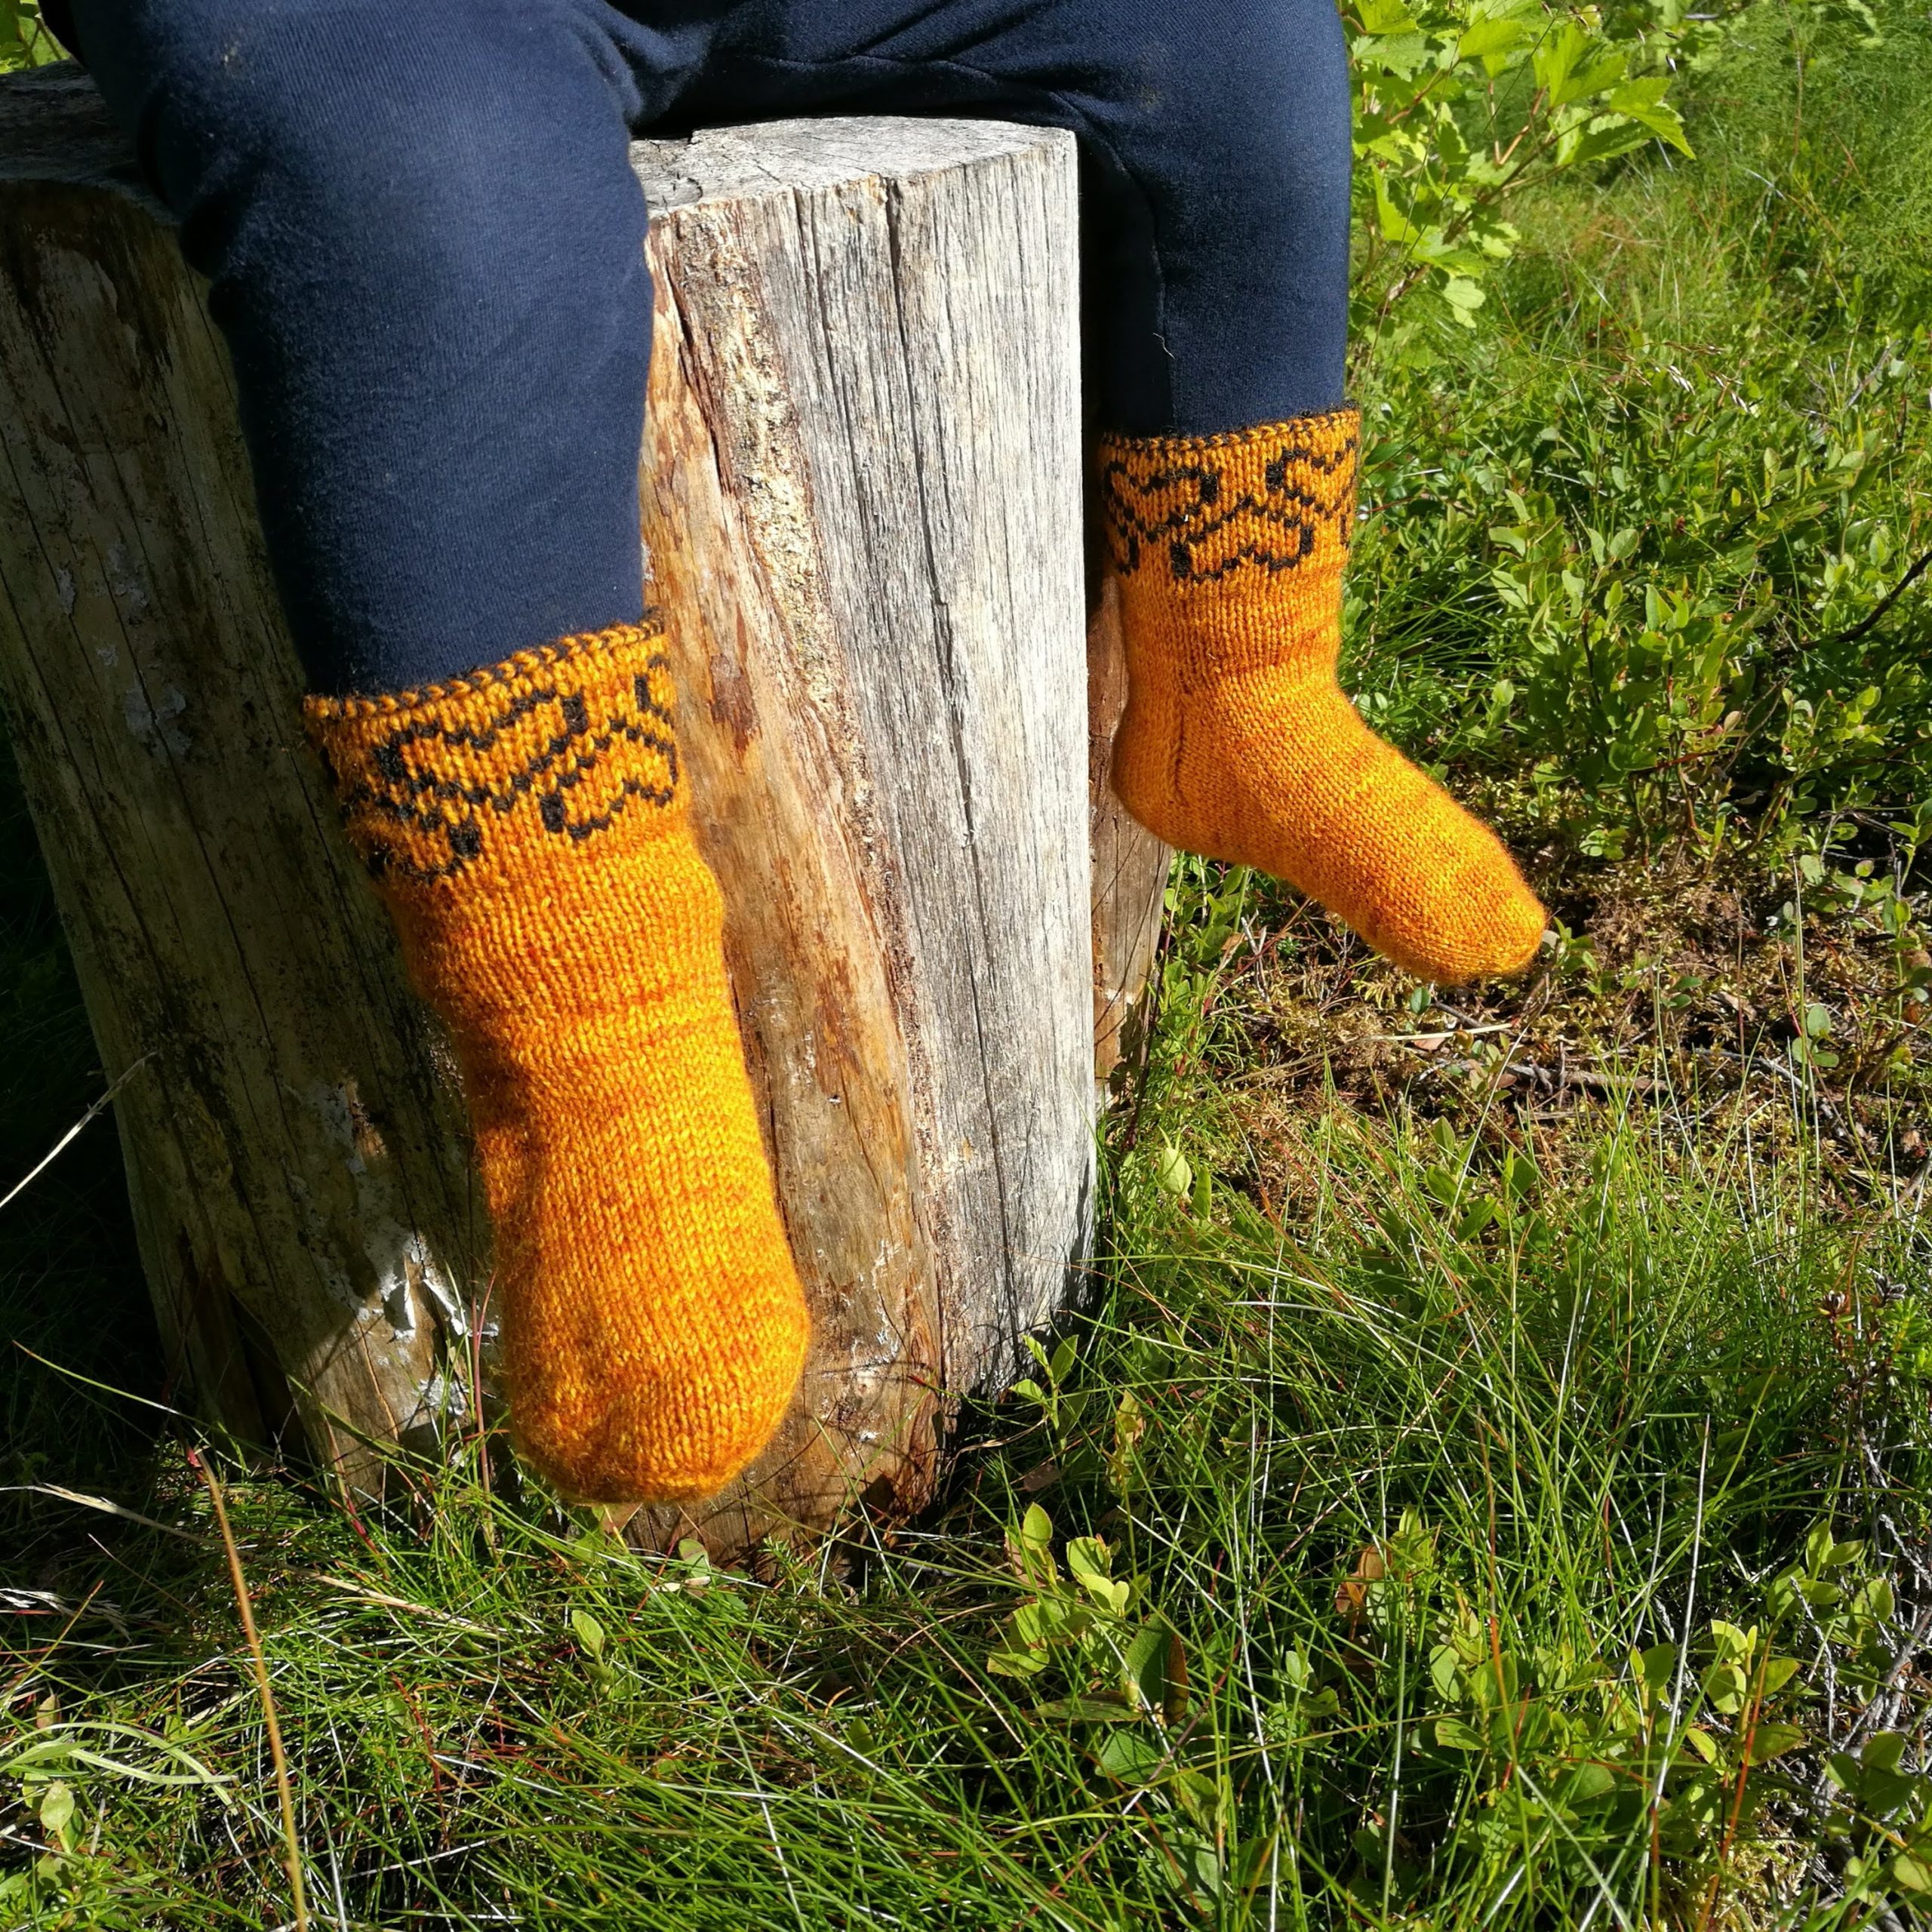
I usually like to knit my sole, heel and gusset stitches in stockinette. It means that if I make a ribbed sock I usually work in ribbing only on needle 1 (instep needle) but the sole stitches (needle 2) including the gusset stitches I work in stockinette. After finishing the heel I start to work in ribbing also on needle 2.
sts on my needles rows / 4” (10cm).
This pattern is written for the magic loop method but can be adjusted for the double pointed needles as well.
Gusset increases
You should now have a total of 56 sts divided evenly on two needles (28 sts on each needle). From toe up knit until your work measures 4” [10 cm] less than desired length. Start the gusset increases.
Round 1
- Needle 1: k all
- Needle 2: m1l, k to end, m1r
Round 2
- Needle 1: k all
- Needle 2: k all
Repeat rounds 1 and 2 11 more times. 24 sts increased on Needle 2.
Heel
You have now 12 gusset sts on each end of Needle 2 and 30 sts in the middle. A total of 54 sts on Needle 2. While working the short rows the gusset sts are on hold.
Short row shaping
K until you are at the beginning of Needle 2. The following rows 1-4 are worked on Needle 2 only.
- Row 1 (RS): k until 12 sts remain, turn.
- Row 2 (WS): mds, p until 12 sts remain, turn.
- Row 3 (RS): mds, k to double st, turn.
- Row 4 (WS): mds, p to double st, turn.
Repeat rows 3 & 4 until the last row you worked was mds, k 10. Do not turn your work.
On Needle 2 you should now have 12 gusset sts, 10 double sts, 10 regular sts on the right needle and 10 double sts and 12 gusset sts on the left needle.
Heel flap
K to last double sts, ssk, turn (k together through the back loop the last double sts with the first gusset st on hold.) Please note that double sts are knitted and purled through both legs.
- Row 1 (WS): sl1, p to last double st, p2tog, turn
- Row 2 (RS): sl1, k to slipped st, ssk, turn
- Row 3 (WS): sl1, p to slipped st, p2tog, turn
Repeat rows 2 & 3 until you have one gusset st left at each end of the Needle 2 (a total of 28 sts left on Needle 2).
Round 3 (RS): sl1, k to slipped st, ssk, continue working in the round and k all sts on Needle 1, k2tog the first two sts on Needle 2, k to end of Needle 2.
You should have a total of 56 sts (28 sts on each needle).
The heel is now finished. Continue working in the round.
Abbreviations
k = knit
m1l = make one left = from front lift up the thread between two stitches with left needle and knit that stitch in the back loop. Great tutorial here.
m1r = make one right = from back lift up the thread between two stitches with left needle and knit that stitch in front loop. Great tutorial here.
mds = make double stitch = Slip 1 stitch
purlwise with yarn in front. Bring yarn up,
over and back to pull on the slipped stitch
until it slides around to show two legs. If you are unfamiliar with the technique see a tutorial with images here.
p = purl
p2tog = purl two stitches together
rs = right side
sl = slip stitch purlwise
ssk = Slip, slip, knit = slip 1 stitch knitwise, slip another stitch knitwise, then slide the left-hand needle into the front part of both stitches and knit them together
st = stitch
ws = wrong side


19 Responses
I like using two circular needles instead of magic loop, and am terrible at DPNs. Do Magic loop instructions work the same for two circulars?
This is one of the most important blogposts I’ve read in the last few years!
Finally I can knit toe-up socks with heels fitting my high arches. Thank you so much for this!!
Hello! Thank you so much for sharing. I’m hoping you can clarify one part that’s got me stuck. It’s at the start of the heel flap:
“K to last double sts, ssk, turn (k together through the back loop the last double sts with the first gusset st on hold.)”.
Is the “last double sts” the last ones created (so the first you come to) or the last ones on the needle (so you’d k through ALL double sts on the way)?
Then is the ssk with the double sts and the first gusset stitch?
Thanks so much!
Hi Sarah!
Yes, you work all the double sts ahead except the last one that is right next to the first gusset stitch and then you ssk the last double stitch and the first gusset stitch. Did this help? -Ida
Thank you for sharing this pattern. I don’t know why I didn’t think of that before when I’ve been working on socks. Lol
Hello,
I have just knit this heel (from another set of instructions) and quite liked it – no need to pick up stitches. I found your instructions as I was trying to clarify the other instructions I was using. On the heel flap section , when you slip 1, where is the working yarn?
The instructions I was using said to slip 1 purlwise wyif, for every row, but I think this was an error. I think that the yarn would be in front when on the purl row (WS), and in back when on the knit row (RS). Otherwise you get a bar showing in front of the slipped stitch on the RS rows.
What do you do?
I do the slipping so that the yarn is always on the wrong side of the work so that the bar isn’t showing.
-Ida
Hello Ida,
Thank you so much for replying – I appreciate it. You’ve confirmed what I thought.
Now that I’ve found your pattern and calculator I’ll be coming back next time I knit a pair of toe-up socks.
Regards, Angela
Sorry this is a newbie question (2nd time making toe up socks). When you say ‘ x” less than desired length ‘, is that the desired sock length or the person’s foot length?
Also, I really appreciate you’re calculator… I’m lazy and really enjoy having something like that. 🙂
Hi April!
I mean the desired sock length (the foot part). In order to make a nice fitting sock it should be a little bit shorter than the actual foot length because knitted fabric stretches. I would recommend 5 to 10% shorter sock than foot. I hope this helps! -Ida
Thank you so much for these instructions and your calculator. I have knit many socks and always dread doing the heel, having tried many types. I just used your instructions to turn the heel on my toe-up sock and it fits very well, plus it looks great, with no gaps. This may become by favorite heel!
Hi Joan!
Thank you so much for dropping by and leaving a comment! I’m glad you liked the pattern and the end result.
-Ida
This is a wonderful heel recipe. I will be making it with dpn’s though. I don’t enjoy the ML process. Thank you for sharing this recipe with us.
I love your recipe, I am so excited to learn “about you”. Learning from a younger person is important to me, your instruction is great. Please share more of your knowlege, I love to learn. Stay safe in Finland <3
Thank you so much Binh!
I just want to clarify since I tend to be more of visual learner: When I get to the beginning of short row shaping on needle two, do I drop needle one for the time being and use a third circular needle with needle two until I get to the 3rd row RS of the heel flap to rejoin needle two to needle one ?
Thanks
Hi Dianne! You don’t need a third needle. Just continue knitting back and forth the stitches of needle 2 with needle 1. Please see this youtube video of a german short row heel. There she works back and forth the short rows so you might get the idea. Please let me know if this didn’t help so I’ll try to explain it better.
Thank you for providing this recipe. I’ve been looking for something just like this forever. My socks turned out great!
I’m glad to hear that my post was helpful!