In this article I introduce you to the three most commonly used heel construction methods for both cuff-down and toe-up socks. These are the short row heel, afterthought / peasant heel as well as flap and gusset heel. I’ll also introduce you to an extra heel type called the strong heel that is not that commonly used but you can make very beautiful heels with it. All of these heel types have also their variations which for the flap and gusset heel are for instance the French or the Dutch heel.
For each of these heel types, I’ve put together a short overview as well as their pros and cons. I also provide a link to an interactive pattern that works for any yarn, stitch count and gauge so you get to make these heels if you so like.
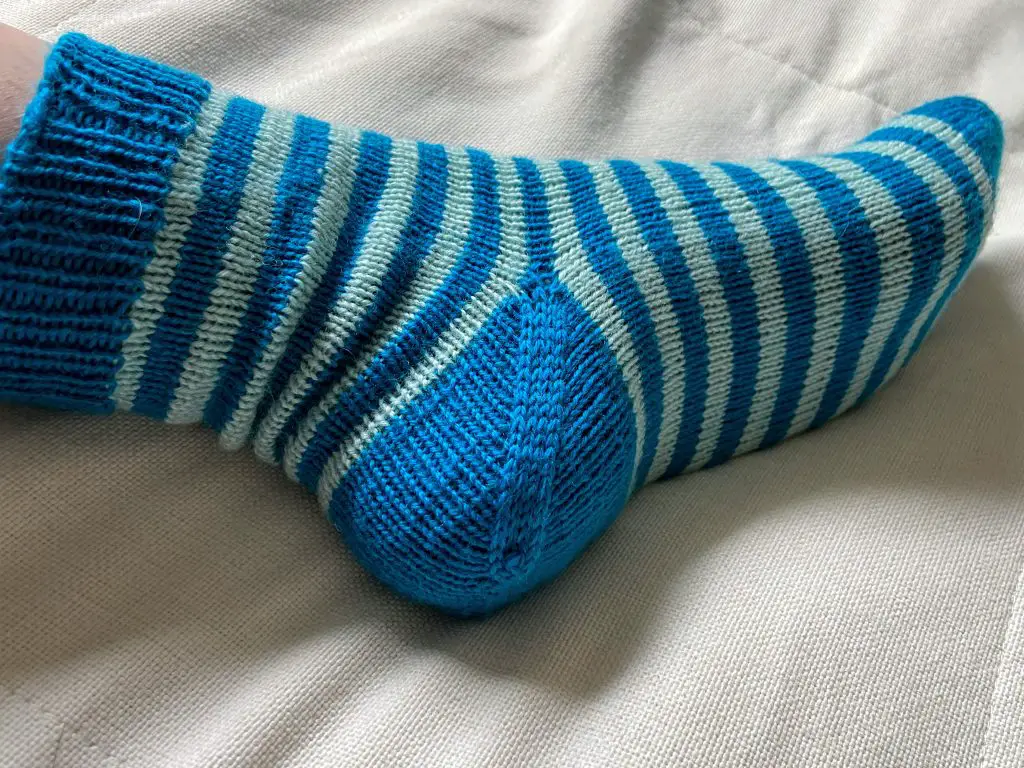
1. Short row heels
Short row heel also known as hourglass heel is the heel type used in most commercial socks. It is symmetrical and you make it exactly the same way regardless if you knit your sock from the toe up or cuff down. The heel is typically worked over half of your sock stitches but if you have a very high instep you might find this type of heel too snug. In this case, you may use more than half of the stitches for your heel.
The short row heel is worked in two steps. First, you work back and forth the heel stitches so that at the end of each row you work one stitch shorter than the previous row until you have approximately one-third of the stitches left in the middle. The second step is to work the heel back and forth so that at the end of each row you knit one stitch longer than in the previous row until you have worked all the heel stitches. The end result is a small “pocket” where your heel fits.
Sometimes the short row heel is named after the short row technique which is used in the pattern. For instance, german short row heels are made using the german short row method, and heels using the wrap and turn method are called generally short row heels. Sometimes you hear people calling the german short row heel also the boomerang or the yo yo heel.
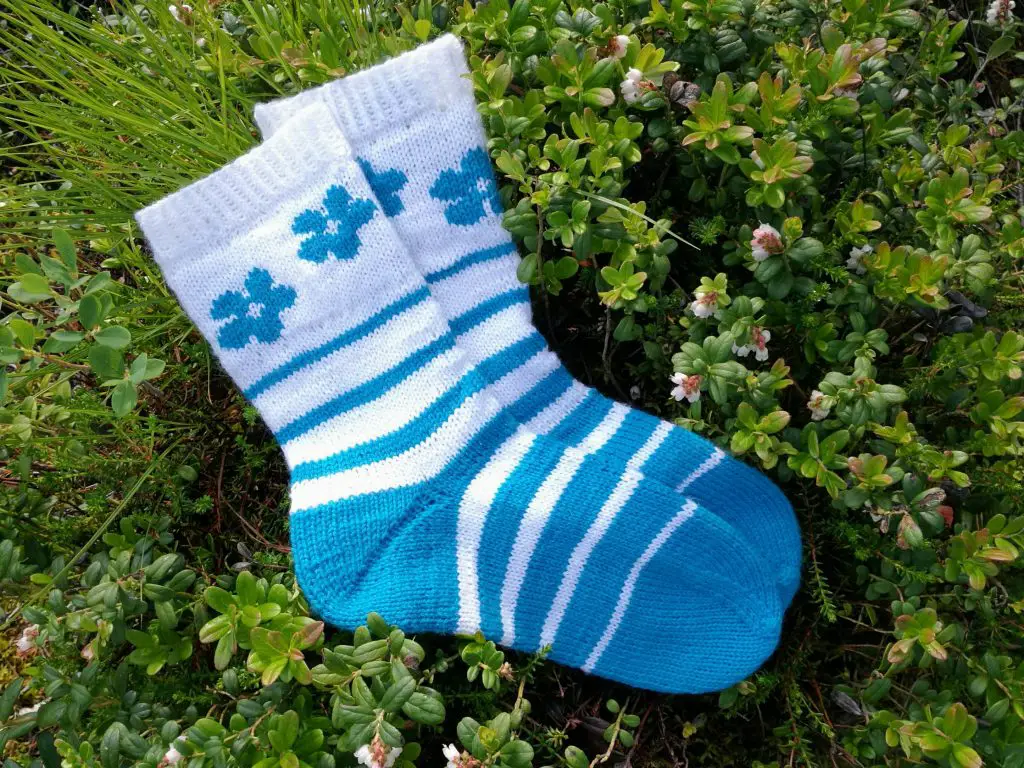
2. Afterthought or forethought / peasant heels
The basic idea with the afterthought heel is that the heel isn’t worked until after the main part of the sock is complete. The heel is called peasant or forethought heel if you decide the heel placement while you are knitting the body of the sock and use waste yarn as a placeholder in a planned location. Similar to the short row heel, you make it exactly the same way regardless if you work your sock from toe-up or cuff-down.
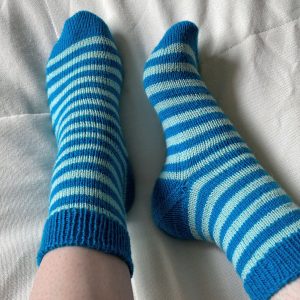
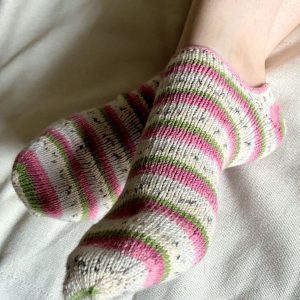
This heel type is ideal for colorwork socks or socks knitted with self-striping yarn because it does not interrupt the pattern. It can be used also for a perfectly symmetric contrasting color heel. The afterthought heel is also quite often inserted and hand knitted in machine-knitted sock tubes.
The way you work the heel is that after finishing the body of your sock you cut a stitch and unravel one half of a round (or unravel the waste yarn) and pick up live stitches below and above the row. Since you pick up half the number of stitches of your total sock circumference from both the row below and above it means that you have the same number of stitches for your heel as you had for the body of your sock. You work the heel in the round and decrease as if you were working a toe until you graft or cinch the remaining stitches.
Afterthought heel is my go-to heel if I’m making a pair of socks for my gift box. I just knit two tubes and I only knit the heel when I know to whom I’m going to gift the pair. This way I can quickly make a gift which is perfectly tailored for the recipient.
3. Flap and gusset heels
Unlike the previous heel types, the flap and gusset heels are not worked the same way if you knit them toe up or cuff down. This type of heel should fit you well even if you have a high arch. This heel structure is also used most commonly if you want to make a reinforced slip stitch heel. This heel type is maybe the most challenging to make because you need to know how to pick up stitches and work also work short rows and decreases at the same time. However, it is really not that much harder to learn than the other heel types so if you like it I encourage you to try it.
3.1 Cuff-down
There are four steps to complete any flap and gusset heel cuff-down. First, you work the flap over half of the sock stitches. Typically you work as many rows of the flap as you have stitches for the heel but you can easily customize the length for your own needs. For instance, if I have 60 stitches for my sock I’ll use 30 stitches for the heel which means that I’m going to work 30 rows for the heel flap.
The second step is to turn the heel. The heel is turned working decreases and short rows at the same time. The heels are named based on the heel turn formula for instance there are the square (also known as the Dutch heel), round (aka the French heel) and V heel (aka the Half Hankerchief heel).
Lastly, you pick up stitches along the edges of the heel flap. Typically you pick half of the row count per side. So there are 30 rows on my heel flap I’ll pick up 15 stitches per side. Then you resume working in the round and decrease the gusset stitches every other round until you have the original stitch count for your sock on the needles.
Here you can find an interactive pattern for the round aka French heel and for the square aka Dutch heel.
3.2 Toe-up
In the toe-up version, you first make the gusset increases. The next step is to make the heel turn with center stitches as if you were knitting the first half of a short row heel. At this point, the gusset stitches are on hold. After the heel turn is completed the heel is worked back and forth and gusset stitches are decreased one at a time. With this method even though you do not make an actual heel flap and pick up stitches on the edges the sock looks as if it was done that way.
Here you can find an interactive flap and gusset heel pattern with a placement calculator. The pattern works for any yarn and gauge.
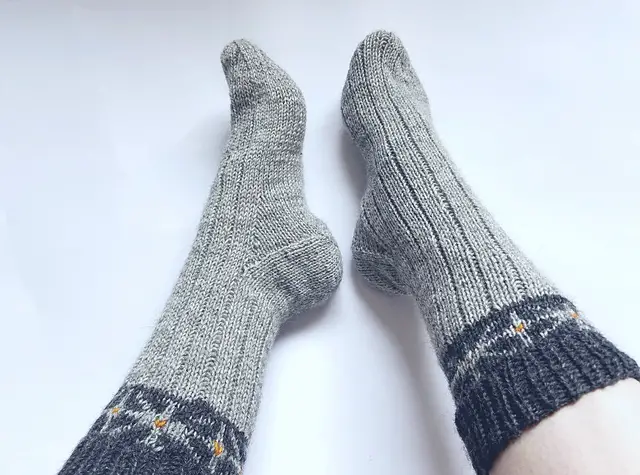
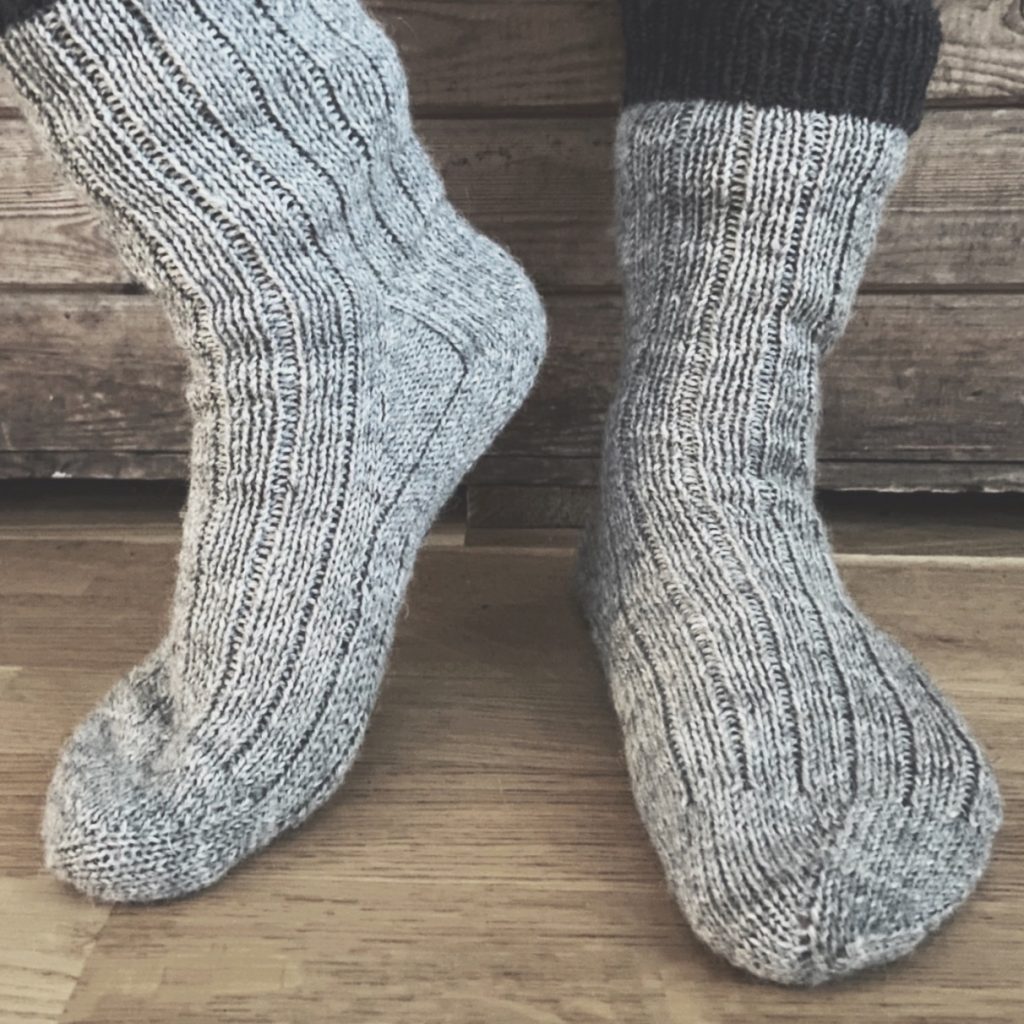
4. Strong heel
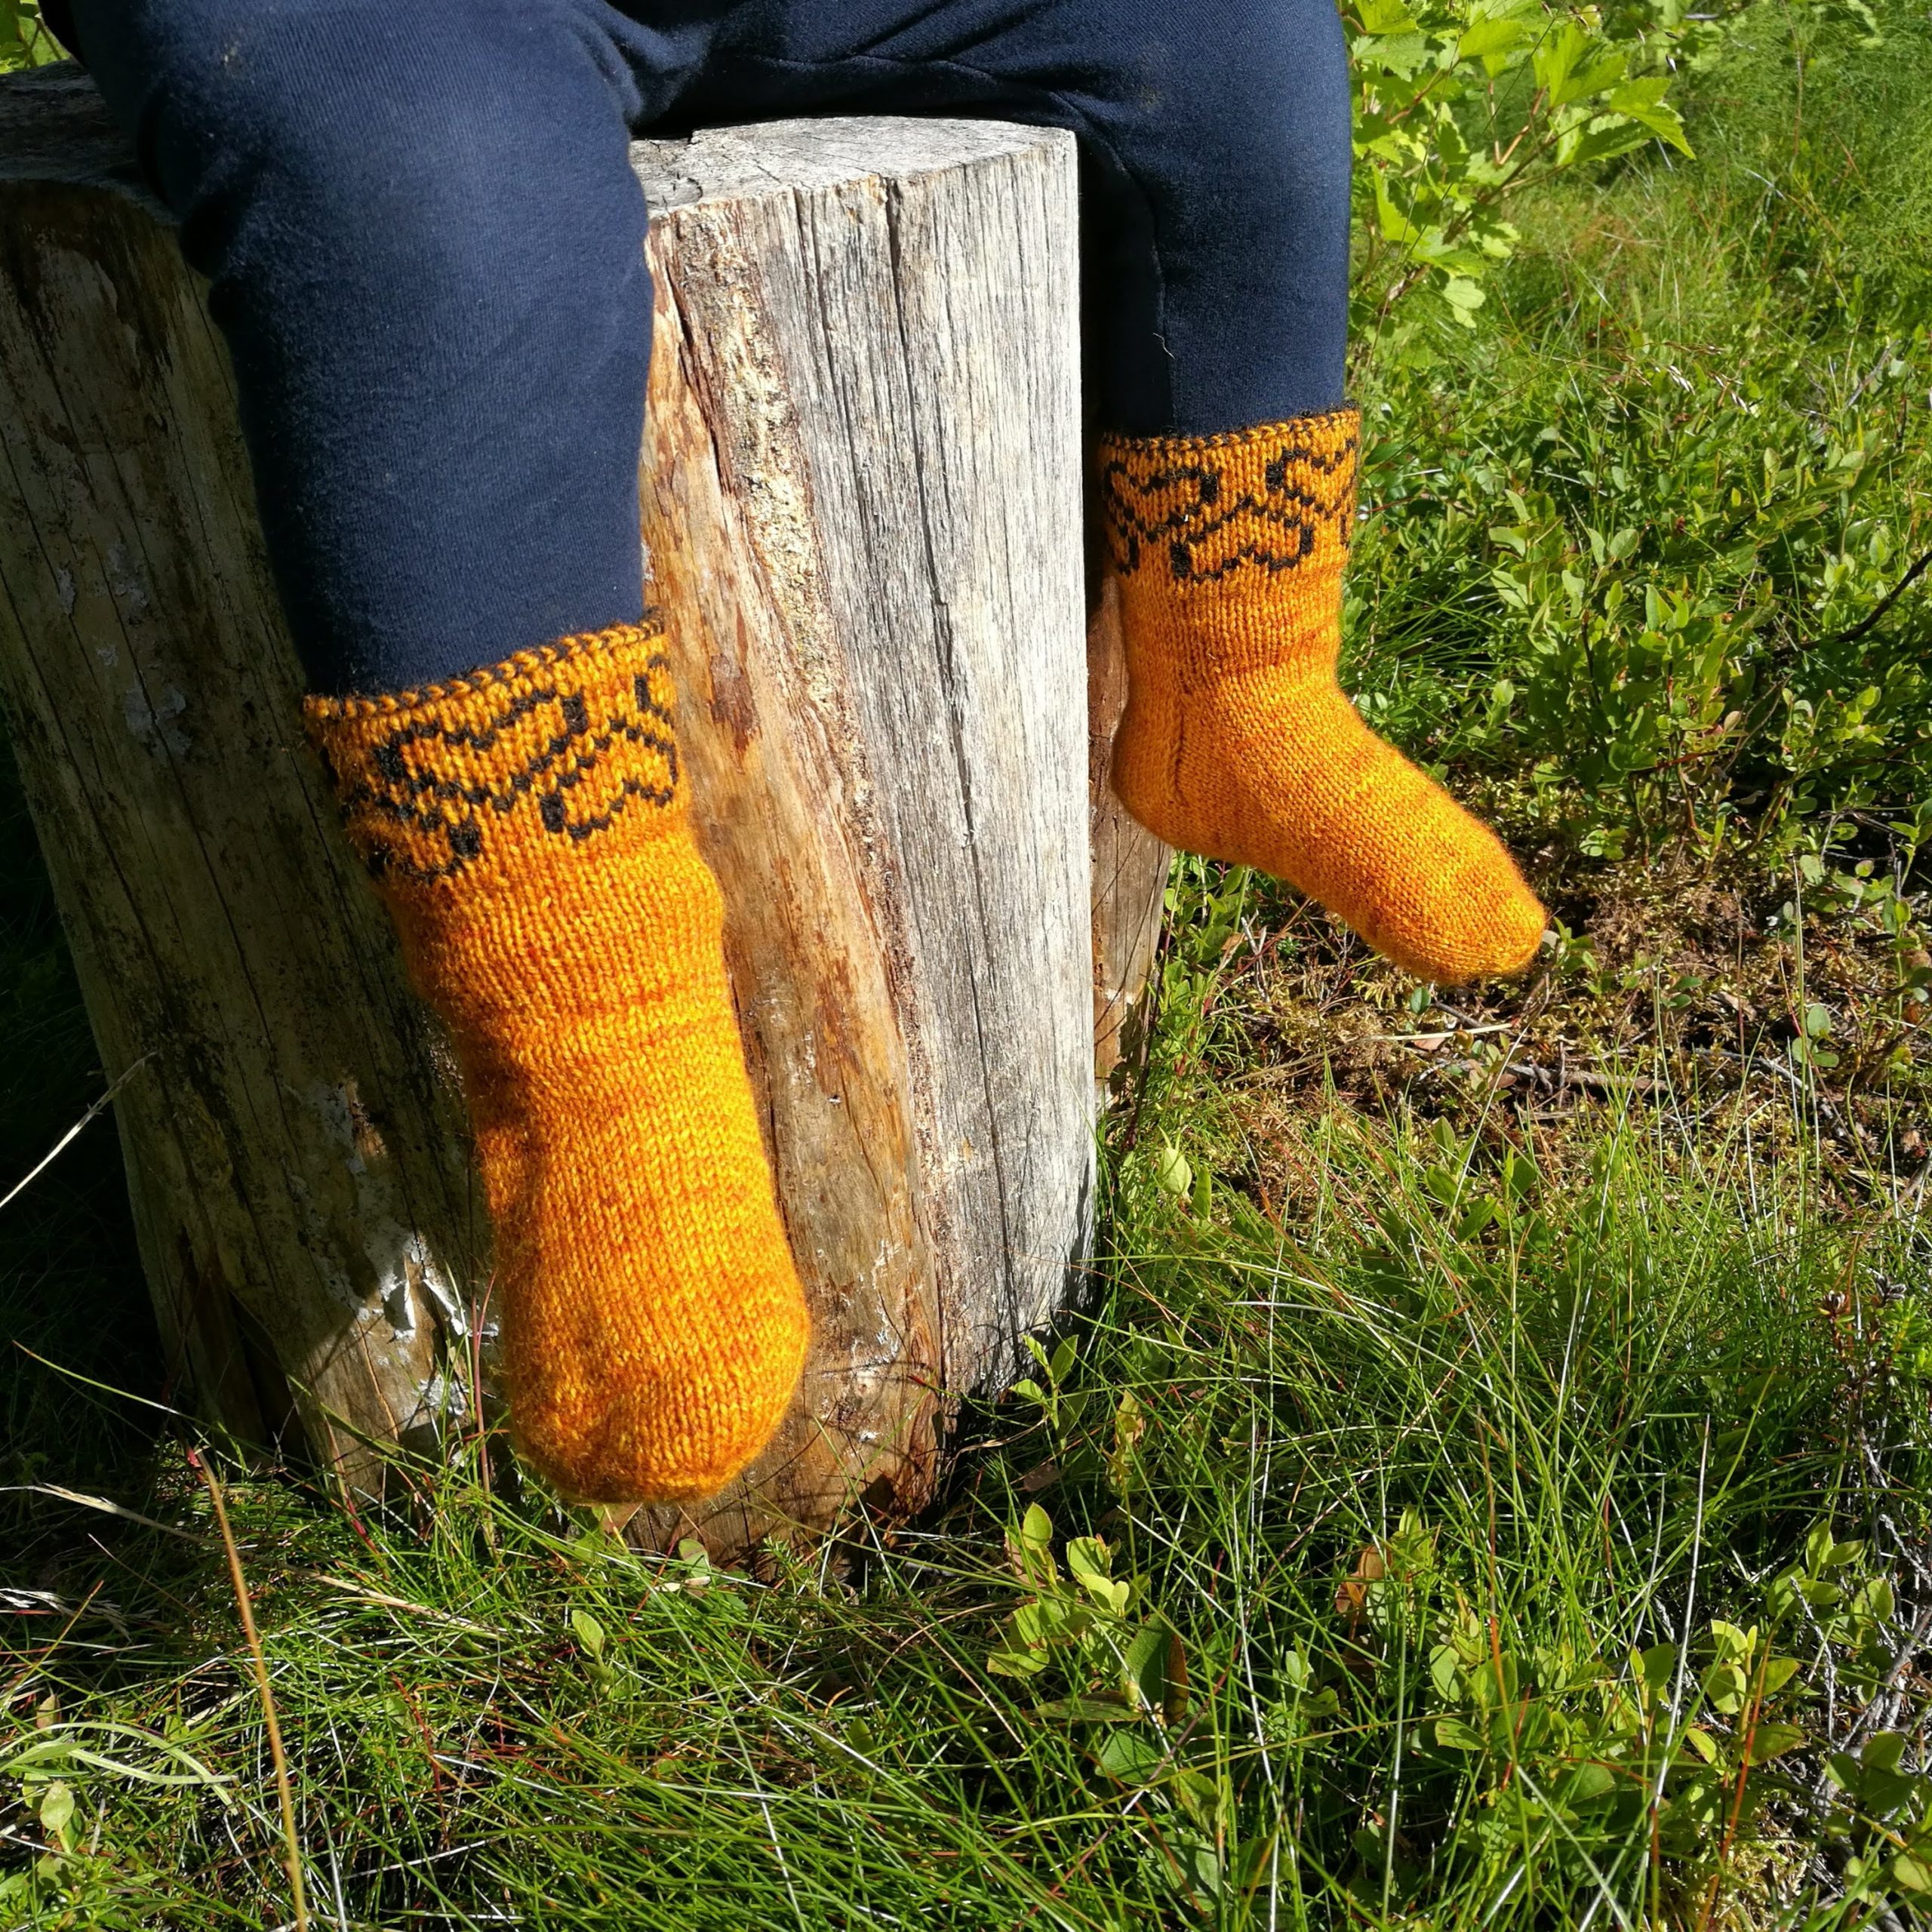
The strong heel can be made both toe-up and cuff-down. What makes this heel special is that the heel turn and the gusset increases or decreases are worked at the same time as the heel turn. If you knit strong heel toe-up you work the gusset increases at the same time with the heel turn. After the heel turn, you make the gusset decreases. For instance, on the Ruusu socks featured in the image above the gusset decreases are between the cables. If you make the strong heel cuff down you make the gusset increases first and then the gusset decreases are worked together with the heel turn.
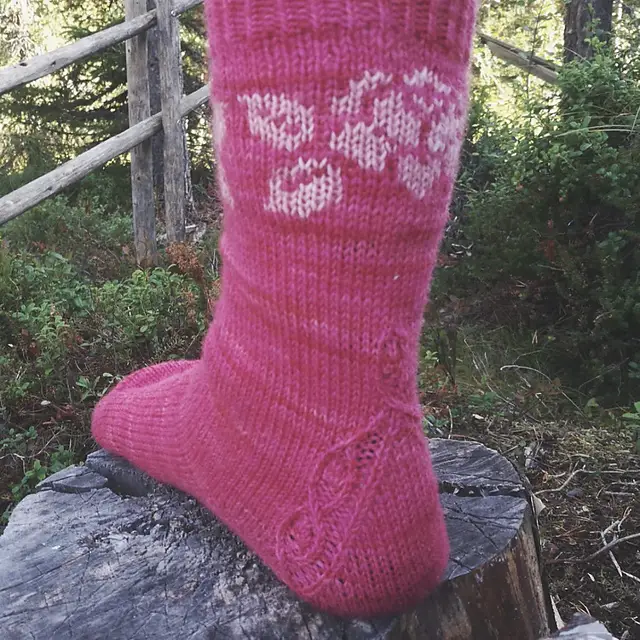
Making the heel can be first a bit tricky because you work short rows and increases at the same time but this type of construction allows you to make very beautiful cable details for your heel. I also recommend you to use some stretchy stitch pattern such as cables or ribbing on the back of the heel because otherwise the sock might become sloppy.


One Response
Thank you new to sock knitting.